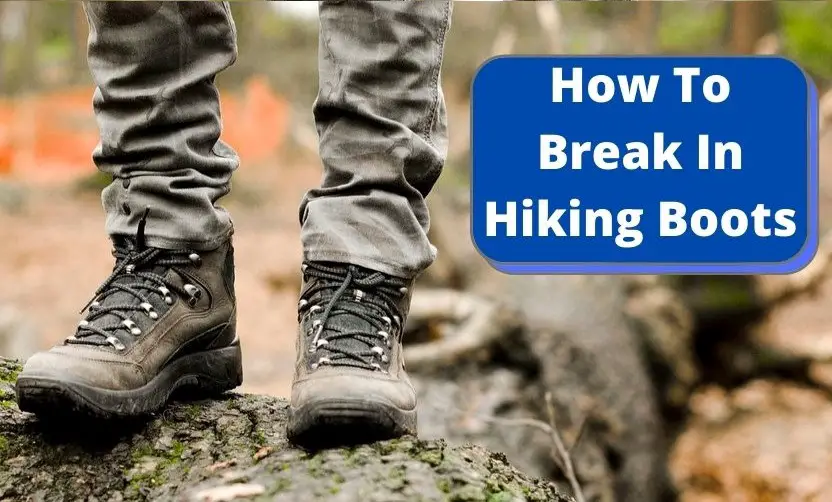
If you just bought a new pair and are eager to hit the trail, chances are you’re wondering how to break in hiking boots.
Hiking boots need to get broken in to be enjoyable and comfortable on you hiking trips, and different boots take different amounts of time to break in.
Typically, the heavier the model and firmer the material, the longer your hiking boots will take to break in.
We’ll cover the top X tips to break in your hiking boots in this guide so you can hit the trail and get back to doing what you love.

Why You Should Break In Your Hiking Boots
A pair of brand new boots have stiff soles, generic insoles, and stiff uppers.
Your boots simply won’t flex the way your feet do out of the box, which means there’s going to be loose spots and friction spots in your new boots. Hiking on boots that aren’t broken in can result in foot pain and blisters.
When you break in a pair of hiking boots, you’re actually softening the sole and fabric, and getting the materials to fold and bend in the ways that your foot does.
Over time, the boot will mold to your foot, making it more comfortable.

How To Break In Hiking Boots – Step 1: Everyday Use
The best way to break in your hiking boots is slow and steady use, using them for everyday purposes around the house, while running errands, and more.
This gentle use will start to wear the materials down on the pressure points and get all the materials broken in.
Gradually increase the distance of your walks in your hiking boots, going from inside the house all the way to a simple, lightweight hike.
How To Break In Hiking Boots – Step 2: Pay Attention To Your Feet
Be very specific about pain points you feel in your boots, as small issues can become big ones very quickly.
If you notice pinching or hot spots in your boots, either layer socks, try different boot lacing methods, or incorporate aftermarket insoles to remedy the issue.
Note that no amount of remedy can resolve a poor-fitting boot. If your boots are too loose you can experiment with thicker socks, and if your boots are too tight you might consider a boot-stretching device, but be aware that these may not fully rectify your issue.
Take a look at our full guide to how should hiking boots fit for some in-depth information.
How To Break In Hiking Boots – Step 3: The Two-Thirds Rule
As a rule of thumb, you’ll want to at least be able to comfortably hike a minimum of two thirds of the distance of your longest hike you plan on taking.
Using this example, if you plan on taking a 10-mile hike, make sure you can comfortably hike and walk for at least 6.5 miles before taking your 10 mile trip.
How To Break In Hiking Boots – Step 4: Get Wet
The soles of your hiking boots will be more flexible when exposed to moisture.
This doesn’t mean you have to go jumping in puddles or ruining the uppers on your boots, though.
Take a walk outside after it’s rained, or moisten the soles of your boots with a damp rag or by running water over them and then head out for a walk.
This moistening process will help shorten the amount of time it takes to break in your hiking boots.
If you want to break in your hiking boots extremely quickly, you can get them soaking wet and go hiking until they’re dry.
This extreme amount of moisture allows the materials to change shape more easily, and they’ll mold to the shape of your feet as the boots dry.
If you’re going to go this route, soak your hiking boots in warm water for about 15 minutes before going hiking, and you can repeat the process once or twice as needed until you have an excellent fit.

How To Break In Hiking Boots – Frequently Asked Questions
You absolutely need to break in hiking boots before hitting the trail on heavy or long-distance hikes.
The stiffer the material, the longer they’ll take to break in.
It typically takes two to four weeks to break in a pair of new hiking boots.
Hiking in different conditions will speed up the process, and we recommend at least building up to two thirds of the total distance you’ll be hiking on the trail.
Using that example, if you’re planning a 10-mile hike, try to at least build up to 6.5 miles or more before taking that full trip.
If you are using minimalist hiking shoes or lightweight materials, you can expect less time to break them in.
If you are comfortable with doing so, soak your hiking boots in warm water for about 15 minutes, then go hiking in them until they dry.
Moisture makes the materials more pliable, and they’ll mold to your feet as the boots dry.
Doing this process can shorten breaking-in process to as little as 1-3 days.
Sure you can, but your house is going to primarily have flat surfaces and smooth flooring or carpet.
To truly break in your hiking boots, you’ll need to wear them on inclines, declines, and uneven terrain. Stairs are a plus too.
All these different types of terrain will help the materials to wear appropriately to better adapt them to the true feeling of hiking.
Adding weight is also suggested if you’ll be backpacking.
You’ll want to take notice of pain points and hot spots in your boots while breaking them in.
Keep in mind that while you’re breaking in your boots, you’re actually breaking in your feet at the same time!
Experiment with different lacing techniques and tightnesses to see what suits you best.
Don’t be afraid to experiment with different socks, multiple pairs of socks, insoles, or sock liners as well to reduce pain while breaking in your hiking boots.
How To Break In Hiking Boots – Wrapping Things Up
We’ve covered why it’s important to break in your new hiking boots, as well as some helpful tips to speed up the process and help you get a great fit.
Have any other tips you’ve used that worked? Let us know in the comments below.
If you haven’t yet chosen your new pair, take a look at our top picks of the best men’s hiking boots under $100 and best women’s hiking boots under $100 while you’re here.

