There are few things as important to your health as having enough water and staying properly hydrated, especially during strenuous physical activity like hiking. Hikers have been trying to find the best way to carry water while hiking to balance the necessity of water with maintaining a light pack load for comfort and better hikes.
Water is heavy – almost 2.2 pounds per liter, or 1 pound per pint! Carrying enough water (but not too much) is a fine line to walk.
In this guide we’ll go over not the best way to carry water while hiking, how much water to carry while hiking, and how to replenish your water safely while on the trail.
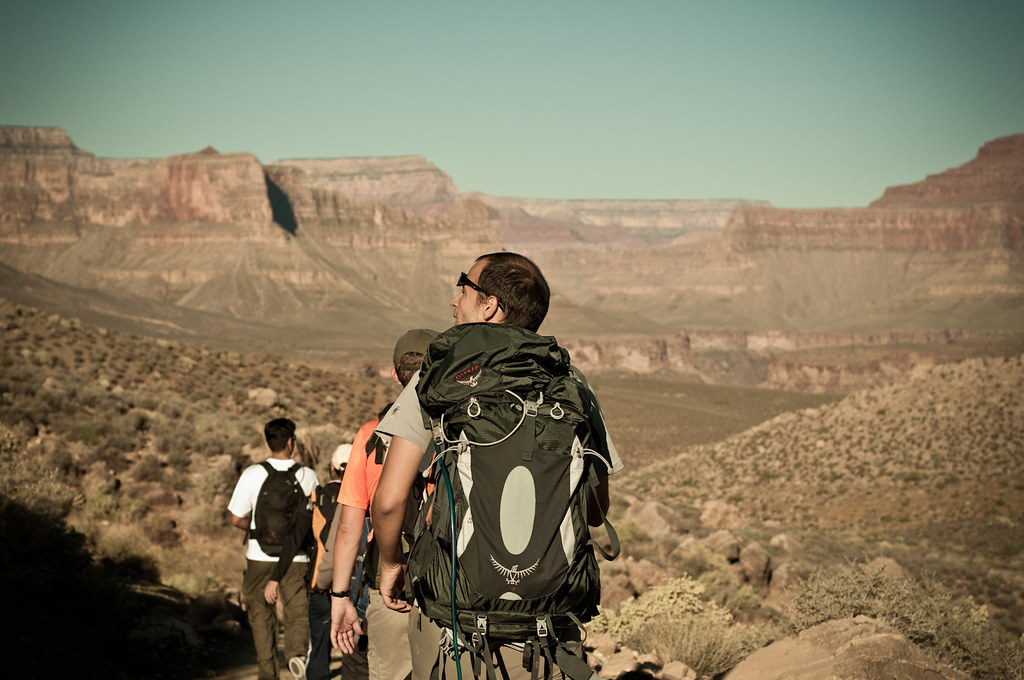
The Best Way To Carry Water While Hiking
The great thing about all of our modern conveniences is that we have so many choices of ways to carry water.
With a plethora of choices comes uncertainty, and ultimately the best way to carry water while hiking will depend on your fitness level, the length and location of your hike, and your personal hydration needs.
Let’s explore each method of carrying water while hiking below and discuss which situation(s) each are best for.
Water Bottles
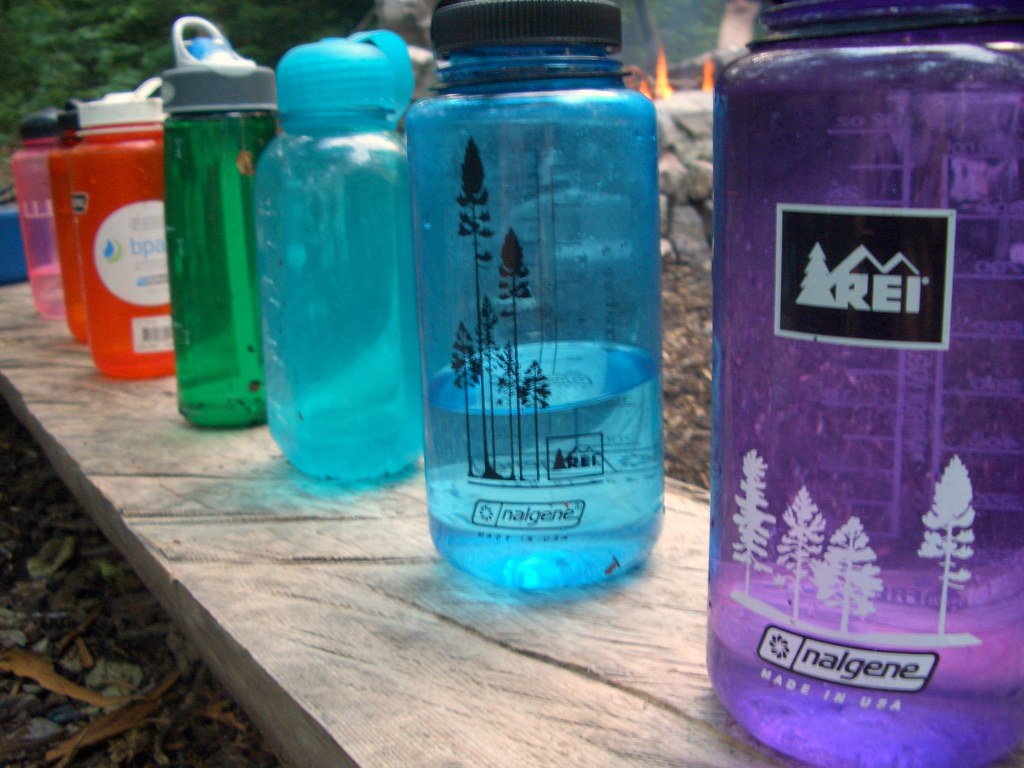
Hard water bottles are usually made of plastic or metal and are great for day-to-day use in everyday life and on outdoor day trips.
They’re durable and stand up on their own and are simple to fill, which makes them convenient.
Additionally, many hiking backpacks have water bottle pockets on the side for storage so it’s convenient to store.
Popular water bottle brands include Nalgene, Klean Kanteen, Sigg, Hydroflask, and Polar, to name a few.
Alternatively, the weight of a full water bottle can create weight imbalances, and the water bottle can get pretty heavy depending on the capacity.
A rigid water bottle also keeps its full shape whether full or empty so you must always account for the storage space needed.
Pros Of Using A Water Bottle To Carry Water While Hiking:
-Easy to refill
-Stand up on their own
-Can be stored in a backpack pocket
Cons Of Using A Water Bottle To Carry Water While Hiking:
-Take up space when empty
-Can create weight imbalances when full
-Can be heavy when full, especially at larger capacities
Hydration Bladders
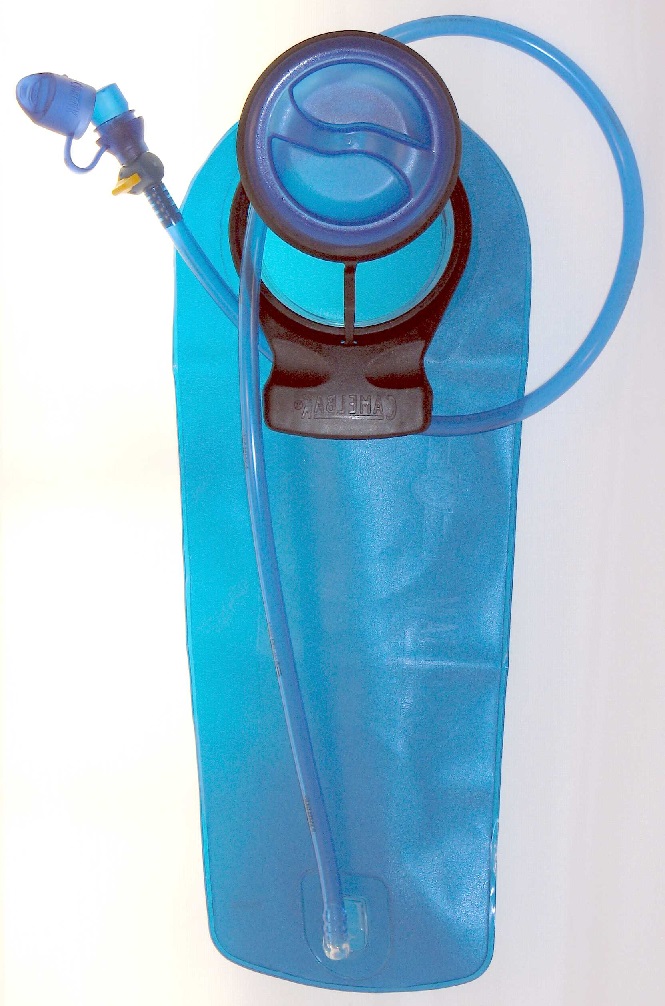
Hydration bladders are designed to allow you to take a drink while moving, rather than stopping momentarily to use a water bottle or other container.
These bladders often are designed as part of a hydration pack, which is a backpack that has a specific bladder that comes with it and designed into the pack, or can be slipped into a designated pouch included on many hiking backpacks.
Popular hydration bladder brands include Camelbak, Platypus, and Gregory.
Hydration bladders offer convenience because they can carry more fluid than bottles and also distribute the weight evenly across your back, but they are heavy and can make you feel hot because you’re carrying a non-breathable large item that is up against your back in the backpack.
We should also mention that hydration bladders sometimes need to be refilled by a separate bottle, which sort of negates the convenience aspect, and they’re also tough to clean while on the trail.
We’ve also found that some of the hose connections can deteriorate after six to twelve months of use, causing the need for replacement.
We suggest hydration bladders be used primarily in situations where you’ll be in the wilderness for multiple days and away from water sources, or in instances where the speed of your travel is important (such as a race).
Pros Of Using A Hydration Bladder To Carry Water While Hiking:
-Conveniently fit in many hiking backpacks
-No need to stop to take a drink
-Hold more fluid than other methods
Cons Of Using A Hydration Bladder To Carry Water While Hiking:
-Can be heavier than other water carrying methods
-Not easy to refill
-Can create extra heat on your back
-Tough to clean on the trail
Soft And Collapsible Bottles
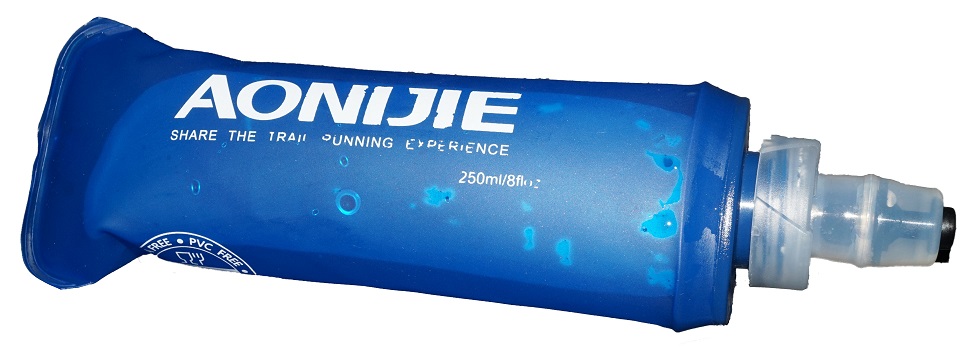
Think of soft and collapsible water bottles as a sort of hybrid of traditional water bottles and hydration bladders.
Soft water bottles are great for keeping space and storage minimized when you need it and are also lightweight and affordable.
Common collapsible bottle brands include Platypus, Vapur, and Evernew.
These water bottles can be tough to refill because they are not rigid, can’t be easily cleaned in the field, and some have issues with durability – most soft water bottles last for between 3 and 6 months of regular use.
Soft water bottles are best for shorter trips where you only need what the bottle will carry, or if you will be going on longer several-day trips where you may have spurts away from water sources for extended periods but need the storage space otherwise.
Pros Of Using A Soft Water Bottle To Carry Water While Hiking:
-Great for saving space
-Flexible and lightweight
-Affordable
Cons Of Using A Soft Water Bottle To Carry Water While Hiking:
-Can be hard to refill
-Tougher to clean while outdoors
-Only last 3-6 months (low durability)
Disposable Bottles
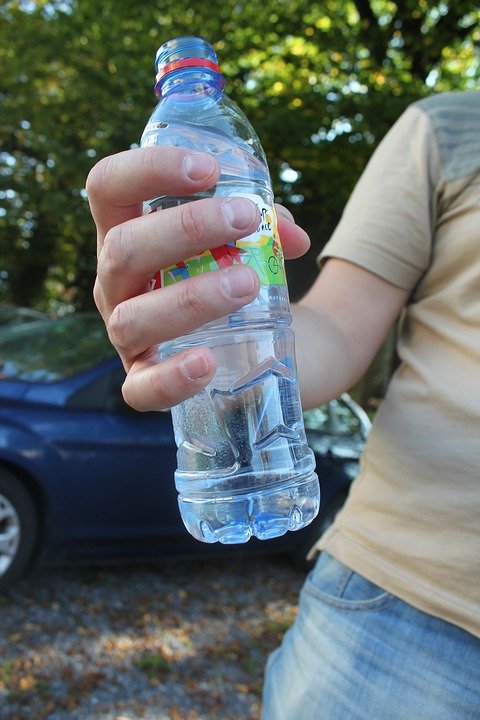
Disposable bottles are simply the regular everyday water bottles you see at your local supermarket, gas station, or convenience store. They fit easily in a side pocket in almost any daypack or hiking backpack.
These bottles are durable, lightweight, easily refillable, and come in many different sizes. They’re also recyclable, and many of today’s disposable water bottles are designed to be compacted down after use which will help you save space after the bottle is emptied (or until it’s time for a refill).
Considering these water bottles are designed for single use, they’re not very durable – but they will hold up for a few uses or refills while you hit the trail.
Pros Of Using Disposable Water Bottles To Carry Water While Hiking:
-Cheap and easy to find
-Easily refillable
-Lightweight and can be compacted when not in use
-Recyclable
Cons Of Using Disposable Water Bottles To Carry Water While Hiking:
-No insulation
-Not as durable as hard water bottles

MSR Dromedary Water Sacks
The MSR Dromedary series is a line of water hauling sacks that are lightweight, relatively affordable, and extremely durable.
Most hikers and campers love the MSR Dromedary for its ease of use compared to hydration bladders, with the only drawback being that they’re not suited for winter use and they can’t be sipped from as easily as a water bottle or hydration pack with a hose.
MSR Dromedary sacks are great for a day hike all the way to multi-day backpacking, hiking, or camping trips.
Pros Of Using MSR Dromedary To Carry Water While Hiking:
-Lightweight
-Durable
-Affordable
-More comfortable than hydration bladders
Cons Of Using MSR Dromedary To Carry Water While Hiking:
-Can’t drink out of them as easily as a water bottle
-Not intended for winter use
Factors To Consider When Choosing The Best Way To Carry Water While Hiking
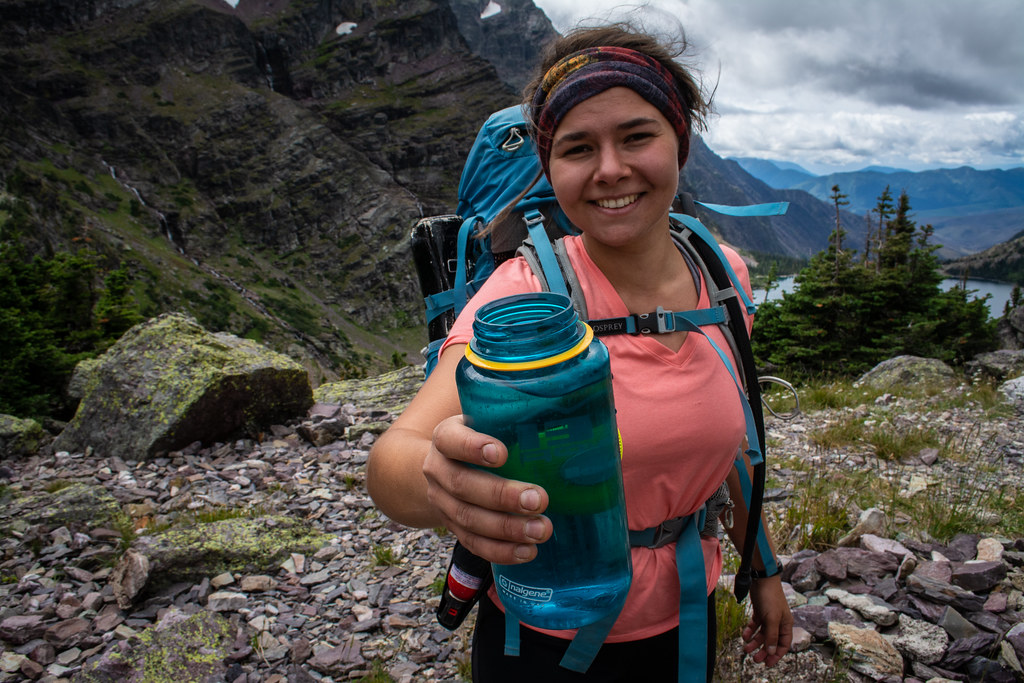
There are a few things to keep in mind when selecting the best way to carry water while hiking, as each method has its pros and cons we explored above.
Let’s dive deeper into these characteristics and the impact each has on the quality of your hike.
Ease Of Use
Being able to easily drink the water from your container is very important!
Think about if you have some convoluted water carrying method and you have to stop, unzip something, and then place the item back in your pack each time – you’re less likely to stay properly hydrated and it can be just plain annoying.
Make sure your method of water carrying is easily accessible and easy to use.
Keep Balance In Mind
Think about the weight of your pack as-is and how the water will affect the balance.
Will the water add weight to the side(s), back, or front of your pack?
Consider the placement of your water along with the total weight of the container when full along with your physical abilities when choosing your water source for hiking.
Container Weight
Don’t forget that the water container itself adds extra weight even when it’s empty.
Try to minimize your container weight to water weight ratio.
Stability
You don’t want a 4-pound weight swinging back and forth from your pack while you hike, as it’s not going to be comfortable or enjoyable.
Make sure the water carrying method you use for hiking can be secured well to avoid inconvenience.
Sanitary Considerations
Consider the ease of cleaning whatever water container you select, especially if you’ll be going on multi-day hikes or backpacking and camping trips. This is less of a concern for day hikes.
Refill Options
The ease of refilling your chosen container is hugely important, especially if you’re going on a longer hike or have multiple people you need to keep hydrated.
Refilling Your Water On The Trail
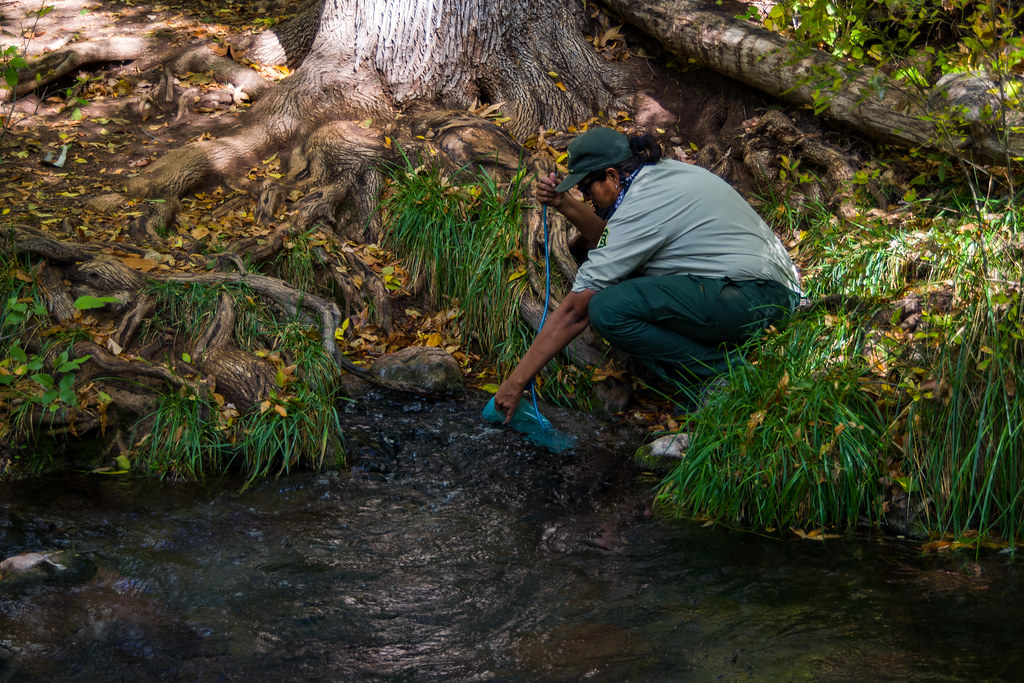
At some point you will likely run out of water while hiking and it’s time for a refill.
It’s rare that you’ll find yourself beside a picturesque spring like the ones on water bottle labels, so it’s important to know what to look for in a good water source and some options on how to treat the water to prevent illness.
When possible, plan ahead by looking at trail maps of where you’ll be hiking and identify areas that will be suitable for refilling your water source.
Finding A Good Water Source: Things To Look For
Does The Water Look Clean?
If the water source has lots of haziness, bugs, bad color, algae growth, or oily film, keep moving and find a different water source.
Is The Water Flowing?
Don’t refill your water containers from stagnant water sources, as it can be a key breeding ground for parasites and bacteria.
Only refill your water container from a body of water that has movement.
Where Is The Water Coming From?
Look to see if you can tell where your water source is coming from – if it’s a spring from a mountaintop or near a ridgeline, you have a much lower chance of contamination.
Always try to collect water as far upstream as possible.
Water Treatment Options

Self-Filtering Water Bottles
Self-filtering water bottles are an excellent option for long hikes.
These bottles have a built-in filter that purifies bacteria, heavy metals, and protozoa that can exist in outdoor water.
Simply fill the bottle with lake or stream water and the bottle does the rest.
Yes, they’re more expensive than regular water bottles, but having the freedom and confidence to drink from most natural water sources is a huge benefit and could even save your life!
We recommend the Grayl Geopress as an outstanding self-filtering water bottle option.

Pump And Squeeze Filters
Pump and squeeze filters are small, lightweight, and quick to use to create immediately ready-to-drink water, and are best for one or two people while hiking or backpacking.
The drawback of pump and squeeze filters is that can become clogged (which can be prevented by backflushing them regularly) and are not intended for winter use.
The Sawyer Mini Squeeze filter is a good option here.

Gravity Filters
Best for larger groups of 4 to 5 people, gravity filters are intended for when water is easily available and you have a bit of time to let the filter do its work.
They typically filter 3-4 liters at a time and take a little bit to set up and get working. The water is drinkable immediately after filtering.
We suggest the Platypus GravityWorks 2.0 gravity filter.

Treatment Drops And Tablets
Water treatment drops and tables are great for small groups or individuals, and they’re a good lightweight option to bring along as a backup option if your initial filter system should fail.
They work great in winter hiking, and leave little to no aftertaste in your water, but you do need to wait 15 minutes for the tablets or drops to do their work.
This water treatment option does not filter debris or small particles, so you’ll need to use your shirt, a bandana, or another type of cloth filter when initially filling your water container.
We recommend Aquamira water treatment drops.

UV (Ultraviolet) Pens
UV Water Treatment Pens are popular with some hikers, but we don’t recommend them as they rely on batteries, don’t filter dirt or debris, and only work with wide-mouth water bottles.
You simply turn the pen on, stir the water for 90 seconds, and boom – you’ve got drinkable water.
Although the convenience and quick-ready times are nice, the battery and water bottle issues are two drawbacks that make tablets a better option.
If you’re going to go the UV Pen route, we suggest the Steripen UV Water Treatment Pen.
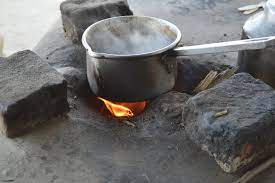
Boiling Your Water
Let’s face it: if you’re on a day hike, you’re very unlikely to need to refill your water in the first place, and if you do, we sincerely doubt that a boiling pot is going to be among the gear you brought!
Now if you’re on a backpacking, camping, or multi-day hiking trek then chances are higher you have some firemaking and cooking supplies like a pot stashed in your gear.
Boiling water should be considered a last resort option as it takes time and effort to start a fire, time to wait for the water to boil, does not contain a filter for foreign objects like dust, etc., and leaves you with hot water once finished.
FAQs On The Best Way To Carry Water While Hiking
The best way to carry water while hiking really depends on your personal needs and the length of your hiking trip.
For day hikes a hard plastic, metal, or disposable water bottle will work great.
For multi-day hikes you may consider a hydration bladder or soft water bottles. Also be sure to bring along a backup water filtration option like water purification tablets so you can refill your water safely when needed.
It’s important to maintain a good level of hydration while hiking.
Aim to consume 4 ounces of water every 10-15 minutes on mild weather days, and 8 ounces of water every 10-15 minutes during hot or humid weather.
Considering those guidelines, a 2 Liter water bottle should provide you with between 2 and 4 hours of proper hydration depending on the weather.
It’s important to begin your hike properly hydrated so your body isn’t trying to “catch up” as you exert yourself on the trail.
Try to drink between 16-20 ounces of water within 2 hours before you begin hiking, and avoid caffeinated drinks before a hike.
It’s important to maintain a good level of hydration while hiking.
Aim to consume 4 ounces of water every 10-15 minutes on mild weather days, and 8 ounces of water every 10-15 minutes during hot or humid weather.
Considering those guidelines, a 2 Liter water bottle should provide you with between 2 and 4 hours of proper hydration depending on the weather.
It is not safe to drink untreated water from a stream or river, no matter how clean the water may look.
For longer hikes or multi-day treks, always bring along a filter option like a self-filtering water bottle or squeeze filter and a backup treatment option like water treatment drops or tablets.
Self-filtering water bottles, squeeze filters, gravity filters, water treatment drops and tablets, and UV water treatment pens are all great ways to treat natural water you’ll find when hiking.
The most respected and well-known hydration bladder brands out there are Camelbak and Platypus.
Although they’re a little different than the traditional hydration bladders, we also highly recommend the hydration sacks from MSR Dromedary.
Your body will let you know when it’s in need of more fluids through some telltale signs.
Symptoms of dehydration include extreme thirst, cramps, headache, dizziness, fatigue, nausea, and dark urine.
If you experience dehydration, start drinking water right away, taking care to sip water frequently – don’t chug it.

