
If you’re looking to give your golf cart a fresh new look, painting the roof is a great way to do it! In this guide, we will walk you through the steps of how to paint a golf cart roof.
We’ll provide you with all the supplies you need and show you how to do it like a pro with a flawless finished product!
Why You Should Paint Your Golf Cart Roof
Maybe you painted the golf cart’s body and now the roof looks worn out, or it’s taken a beating by the sun and weather over the years.
Perhaps you had to do a little patch work to the roof and now you’ve got an unsightly blemish you’d love to get rid of.
Or maybe you just want to update the look and color of your golf cart roof!
There are plenty of reasons to paint your golf cart roof, but all of them will result in a better looking golf cart.
We’ll show you exactly how to do it in today’s guide.
How To Paint A Golf Cart Roof Step By Step
Painting a golf cart roof can be done in as little as a day and will be inexpensive as long as you’ve got some basic materials on hand.
As in all painting projects, prep work is half the battle, which is what we’ll cover now.
Step 1: Get All The Supplies You’ll Need

Nothing’s worse than getting halfway through a job and realizing you don’t have what’s needed for the next step.
Then you’re running to the local hardware store and losing valuable time you could’ve spent getting a coat of paint on your golf cart’s roof.
Take a moment to round up the following supplies you’ll need to paint a golf cart roof:
- Tarp, dropcloth, or big piece of cardboard (big enough to set the golf cart roof on)
- Spray paint (at least four cans per roof side): try Rust-Oleum Truck Bed Coating, Herculiner, Krylon Fusion, or another paint that is well-known for sticking to plastic surfaces
- 120 Grit Sandpaper (220 Grit sandpaper optional)
- Microfiber towels or cloths
- Tack cloth
- Screwdriver and any other tools needed to remove the roof from the golf cart
- Personal protective equipment (eye wear, gloves, and dust mask or respirator)
- Old clothes and shoes you don’t mind getting paint on (or coveralls and shoe covers)
- Garden hose or other water source
Step 2: Get Your Painting Area Prepped
We’ll be working with spray paint, and that means you’ll need an area that’s both free from strong breezes and well-ventilated.
A garage with an open garage door is the ideal place to do this.
If you don’t have a garage, then try to do under a carport or even on the side of your house in the lawn where the house will act as a windbreak for you.
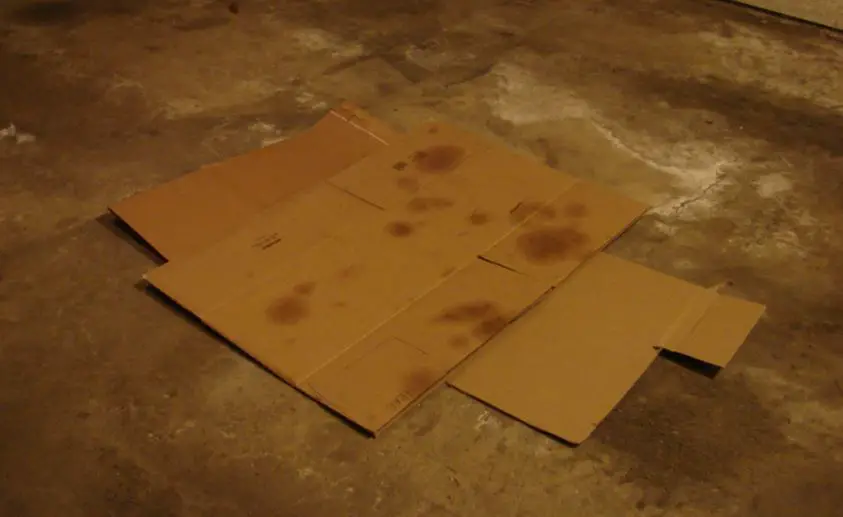
Prep your painting area by laying down a tarp, a big piece of cardboard, or something else that is relatively flat and will provide an easy surface to work on.
It’s important not to skip this step so you don’t get spray all over your garage floor or your grass!
Lastly, make sure you’ve got a dry covered area where you can let the golf cart roof sit and dry for several days once it’s been painted.
You don’t want your paint job getting ruined by rain, dust, or debris.
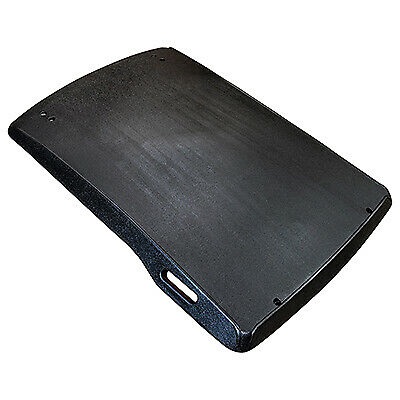
Step 3: Remove Your Golf Cart’s Roof
You’ll definitely want to remove the golf cart’s roof before attempting to paint it.
Leaving the roof on would require way more prep work to mask off the golf cart’s body and interior, causing a way bigger hassle.
We’re a fan of doing things the easy and smart way, so take that roof off!
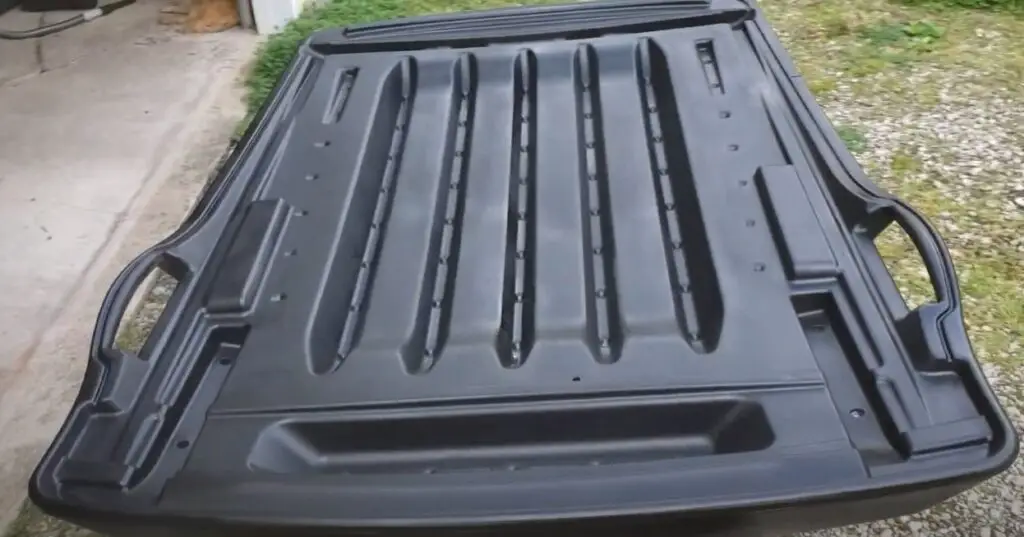
Most golf cart roofs should come off by removing some screws and applying some upward pressure to “pop” the roof off the golf cart’s body.
Step 4: Prep The Golf Cart Roof For Painting
Now that the roof is free from the golf cart, you’ll need to clean and sand it before painting it.
Start by scrubbing the golf cart roof down with either dish soap or a cleaner, degreaser, and spot remover concentrate.
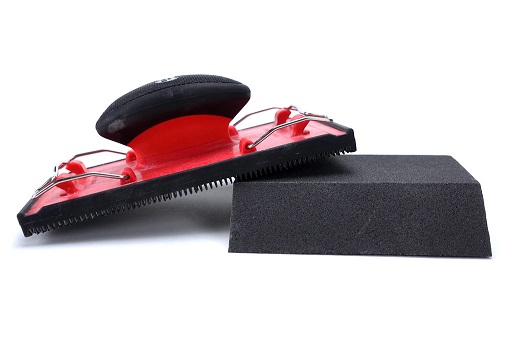
You can then move on to sanding the roof on all sides you’ll be painting using your 120-grit sandpaper.
If you want to go the extra mile (and we recommend it), then hit everything again with 220-grit sandpaper to smooth everything out.
Pay extra attention to spots on the roof that will be getting lots of touches like roof handles.
There’s no need to use a random orbit or electrical sander, doing this the manual way will be all you need.
Once you’ve cleaned and sanded down the roof, you’ll need to get all that dust off of it.
Take the golf cart roof outside and give it a good spray down with a hose.
Once finished, wipe it dry with a microfiber towel (you can also hit it with some compressed air or a leaf blower to speed up the drying process).
Once it’s totally dry, give the roof a once-over with a tack cloth to catch any random debris or dust you didn’t get in the previous steps.
Step 5: Paint The Roof
Before we get to spraying the roof, let’s reiterate something: you definitely want to use a spray paint that is made specifically for plastic surfaces, such as Rust-Oleum’s truck bed liner spray, Herculiner aerosol spray bed liner, or Krylon Fusion.
If you go with any old spray paint it will flake off quickly and wash away after the first rain it’s exposed to.
You’ve spent a lot of time prepping to get to this final stage, so don’t cut a corner and let all your hard work go to waste!
Also, make sure you have enough paint. When we painted our golf cart roof it took about four cans for each side of the roof, so if you’re painting the whole thing that’s eight cans at least.
It would be wise to buy a few extra cans, save the receipt, and return any unused spray paint after the fact.
Now that’s out of the way, let’s get to painting.
Spray the paint on the golf cart roof following the manufacturer’s recommendations.
A few quick tips for using spray paint:
- Always shake your can up really well before you start (at least 1 full minute of shaking before you start painting).
- Keep the can 6″-8″ away from your roof to avoid drips or runs.
- Use long sweeping motions, barely overlapping each run.
- Multiple thin coats are better than one thick coat.
- Allow ample time to dry between coats (dry time varies by manufacturer, but usually it’s about 5 minutes)
- Allow 24-48 hours for the finished project to fully dry and cure before handling
Step 6: Put The Golf Cart Roof Back On Your Cart
Once you’ve allowed the paint to fully cure, it’s time to see the awesome finished product of all your hard work!
Reinstall the golf cart roof and take your cart for a spin, allowing your neighbors to admire how great your cart looks with its fresh paint job.
If you’ve got a golf cart roof rack, now’s the time to attach that again as well.
How To Paint A Golf Cart Roof: Wrapping Things Up
As we covered in today’s guide, painting a golf cart roof is a pretty simple process anyone can do in about 4 hours or less with some preparation ahead of time.
Just follow our steps above and you’ll be in great shape.
Did you decide to try painting your cart’s roof? What type of paint did you use, and how did the finished product turn out?
Let us know in the comments below.
Check out our other golf cart modification guides and gear reviews while you’re here:
- The best golf cart bluetooth speakers
- How much is a cart?
- Our complete guide to golf cart battery maintenance
- The best golf cart fans
- Golf cart lock options