
Replacing a camper skylight can be a daunting task, but it is a necessary one if you want to maintain the integrity and comfort of your RV. Skylights are an essential component of any RV, as they allow natural light to enter the space and can help regulate temperature and ventilation. However, over time, skylights can become damaged or worn, requiring an RV skylight replacement.
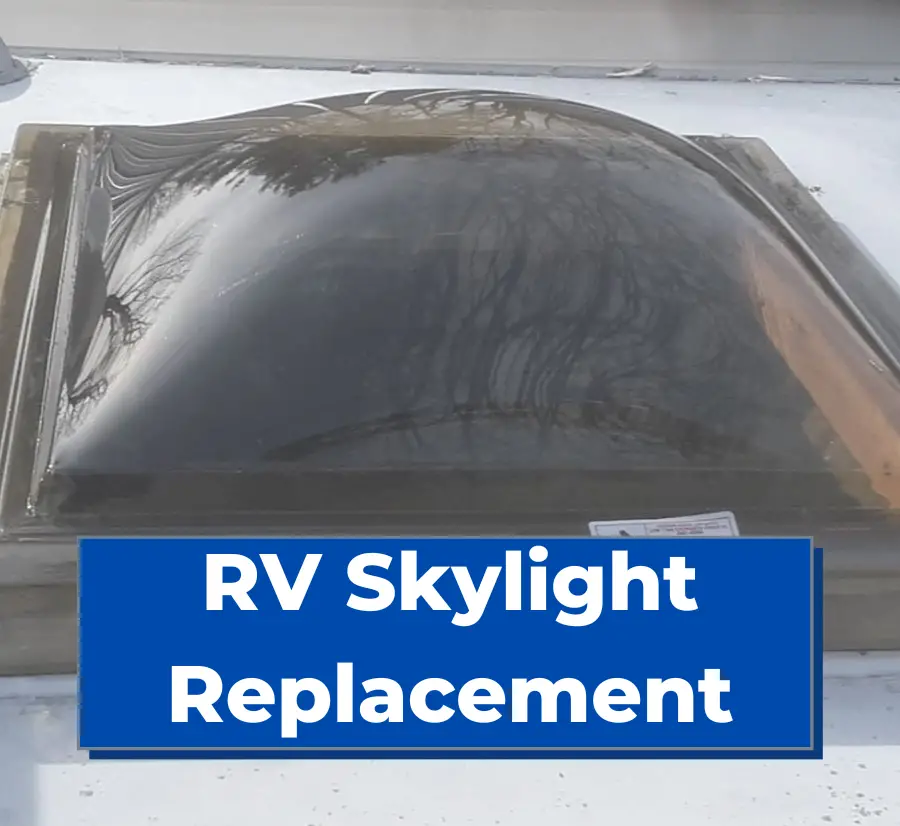
There are several reasons why a camper skylight may need to be replaced. One common reason is damage caused by weather or debris. Hail, falling branches, and other types of debris can crack or break the skylight, compromising its ability to keep the elements out. Additionally, exposure to the sun’s UV rays can cause the skylight to become brittle and yellow over time, which can also lead to cracks and leaks.
Replacing a camper skylight is not a task that should be taken lightly. It requires some basic tools and knowledge of the RV’s construction, as well as an understanding of the different types of skylights available. However, with a little research and preparation, anyone can successfully replace a camper skylight and enjoy the benefits of a well-lit and comfortable RV space.
Why Replace a Camper Skylight?
Camper skylights are a great feature that can provide natural light and ventilation to the interior of the camper. However, over time, they can become damaged or worn out, and require replacement. There are several reasons why someone might need to replace their camper skylight.
One common reason for replacement is damage. Camper skylights can become cracked or shattered due to impacts from debris, hail, or tree branches. In addition, exposure to UV rays can cause the skylight to become brittle and prone to cracking.
Another reason to replace a camper skylight is to improve energy efficiency. Older skylights may not be well-insulated, leading to heat loss in the winter and heat gain in the summer. Campers can save money on heating and cooling costs by replacing the skylight with a newer and more energy-efficient model
In addition, replacing a camper skylight can improve the overall appearance of the camper. Over time, skylights can become discolored or cloudy, which can detract from the camper’s aesthetic appeal. By replacing the skylight with a new, clear model, campers can restore the camper’s appearance and make it look like new again.
Types of RV Skylights
There are two main types of camper skylights: plastic and glass. Each type has its own unique features and advantages.
Plastic RV Skylights
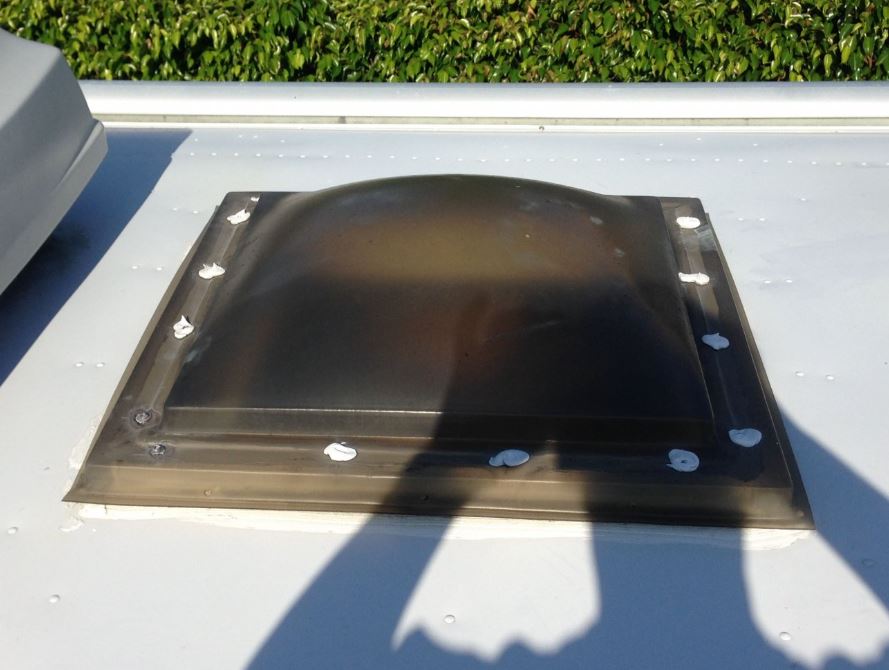
Plastic skylights are the most common type of camper skylights. They are lightweight, durable, and affordable. Most plastic skylights are made of polycarbonate or acrylic materials, which are both strong and resistant to impact. They are also UV-resistant, which means they won’t yellow or become brittle over time.
One of the biggest advantages of plastic skylights is their versatility. They come in a wide range of shapes and sizes, including rectangular, square, and round. Some plastic skylights are even designed to open and close, allowing for increased ventilation and airflow.
Another advantage of plastic skylights is their ease of installation. They are typically installed using screws and sealant, and can be replaced relatively easily if necessary.
Glass RV Skylights
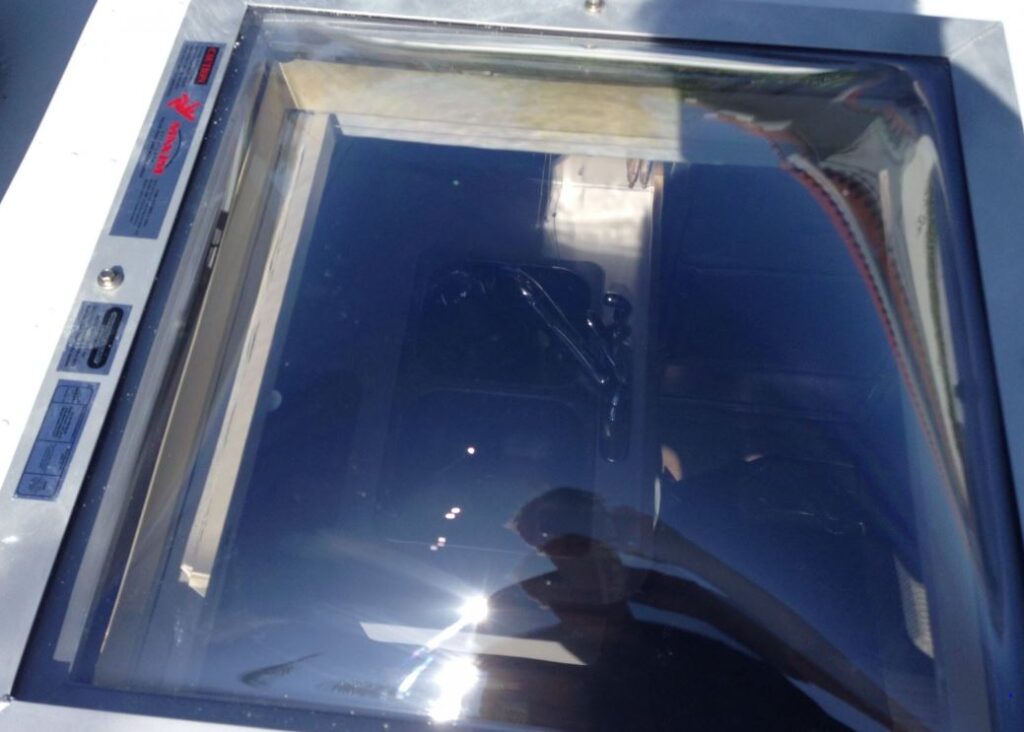
Glass skylights are less common than plastic skylights, but they offer a number of advantages. They are more durable than plastic skylights and are less likely to scratch or become damaged over time. Glass skylights are also more resistant to discoloration and fading, which means they will maintain their clarity and transparency for longer.
One of the biggest advantages of glass skylights is their aesthetic appeal. They have a sleek, modern look that can add a touch of elegance to any camper. They also allow for more natural light to enter the camper, which can make the space feel brighter and more open.
However, glass skylights are typically more expensive than plastic skylights and are heavier, which can make installation more difficult. They are also more prone to cracking or shattering if they are hit by a hard object or exposed to extreme temperatures.
So now that we’ve covered the kinds of RV skylights you’ll come across and why you’d need to replace them, let’s cover how to replace one.
How to Replace an RV Skylight
Replacing an RV skylight is a simple process that can be done with a few basic tools and some patience. Here are the steps to follow:
Gather Your Supplies
Before beginning the replacement process, gather all the necessary tools and materials. You will need:
- Putty knife (plastic putty knives are better than metal for this project)
- Mineral spirits
- Screwdriver or drill
- Protective gloves (when using mineral spirits)
- Caulk gun
- Skylight sealant (Surebond SB140 is what we recommend)
- Rag
- Replacement skylight
- Self-drilling screws
Step 1: Measure the Camper Skylight Opening
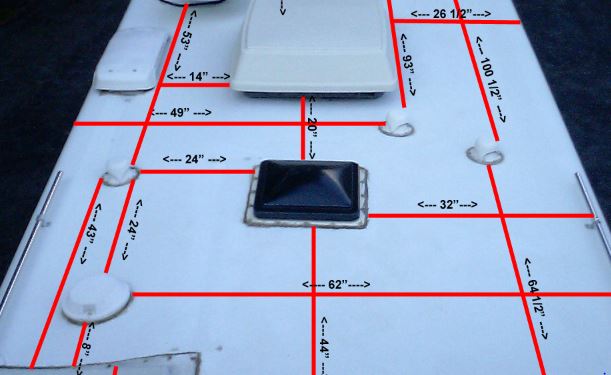
In an ideal world, you’d be able to measure the opening on your RV after removing the old skylight, but that would leave you with a hole in your RV roof!
If your RV or camper is parked indoors, then go ahead and skip to the removal instructions below. For the rest of us, we’ll need a better way to measure ahead of time.
Start by checking the owners manual for your RV, because some list the exact measurements.
If that doesn’t work, it’s time to take some measurements. Start by measuring around the exterior, which you can see through the sealant. Also take measurements around the skylight dome or bubble and the height of the dome or bubble in case the skylight dealer needs those measurements.
Step 2: Choose and Order the Right RV Replacement Skylight
Choose a replacement skylight that matches the size and shape of the opening. It is also important to choose a skylight that is made of durable materials and is resistant to UV rays and weather damage.
You can try reaching out to your RV or camper manufacturer for recommendations, but if not there are fortunately plenty of other places you can purchase camper skylights and RV skylights from.
Here are some popular RV skylight makers and dealers you can check out:
EZ Tops Worldwide
All-Rite Custom Manufacturing
IconDirect.com
Step 3: Remove the Old Skylight
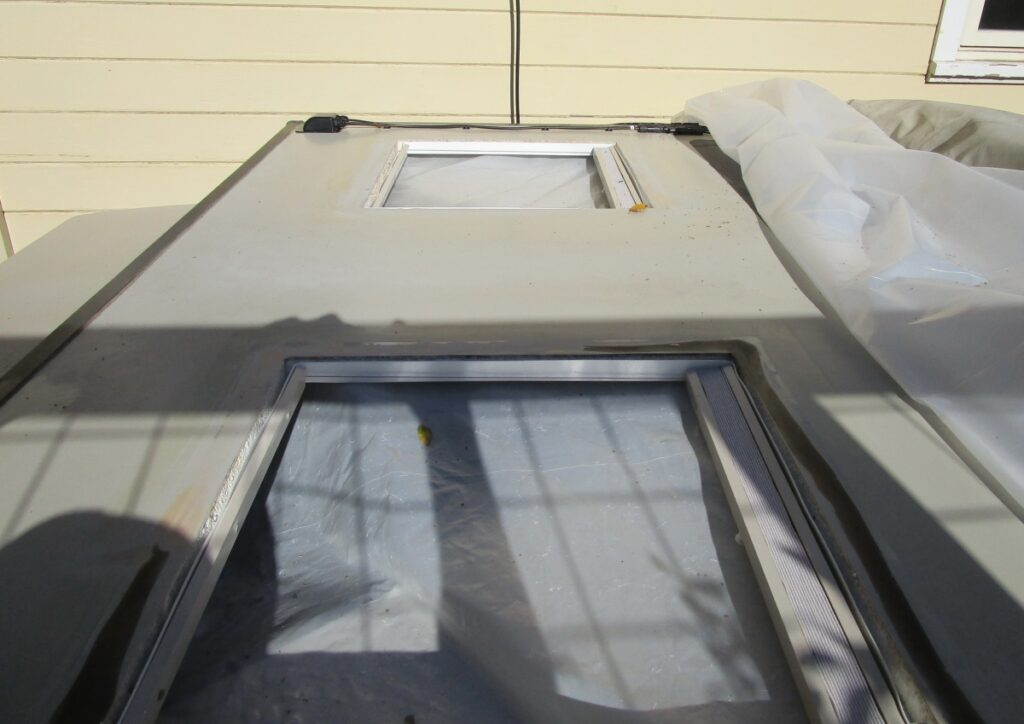
Use a putty knife to remove the old sealant around the skylight, being careful not to cut into your rubber or EPDM roof if you have one.
Then, use a screwdriver to remove the screws holding the skylight in place.
Carefully remove the skylight from the opening.
Next, use mineral spirits to clean off any extra sealant that you didn’t scrape off previously. Be careful not to get too much mineral spirits on your rubber or EPDM roof as it can cause damage.
Step 4: Install the New Skylight
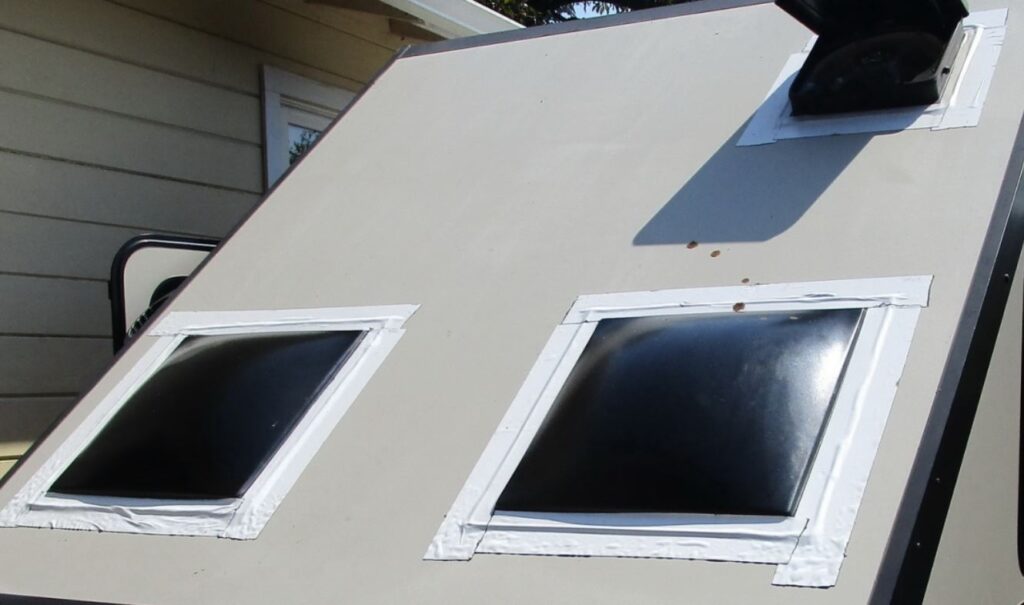
Maybe this goes without saying, but read through the installation instructions that came with your new RV or camper skylight, making sure to gather all necessary materials beforehand.
Apply a bead of skylight sealant around the perimeter of the RV skylight hole, making sure to fill in the holes left from the previous screws.
Put the new skylight in, making sure to press down and move it a bit to make sure the sealant is in place.
Screw the new RV skylight in place, being careful to not overtighten the screws so you don’t crack anything.
Apply a bead of skylight sealant around the outer edge of the skylight and over any exposed screws.
With these simple steps, you can replace your camper skylight and enjoy a clear view of the sky above.
Tips for Replacing a Camper Skylight
Tip 1: Use the Right Tools
Doing an RV skylight replacement requires a few necessary tools. To ensure a successful replacement, you will need a plastic putty knife, screwdrivers and screws, and some mineral spirits (optional). Additionally, you will need a roll of Butyl tape at least the length of the perimeter of the flange and two tubes of Lap Sealant (use one of the best sealants for motorhome skylights, like Dicor).
Tip 2: Consider a Tinted Skylight
When replacing your camper skylight, consider upgrading to a tinted skylight. A tinted skylight can help reduce the amount of heat and light that enters your camper, making it more comfortable and energy-efficient. Plus, it can add a stylish touch to your RV’s interior.
Tip 3: Seal the RV Skylight Properly
Properly sealing your new camper skylight is crucial to prevent leaks and water damage. Use Butyl tape to create a seal around the perimeter of the flange, and apply sealant over the tape and around the screw heads. Be sure to apply enough sealant to create a complete seal, but not so much that it overflows and creates a mess.
By following these tips, you can replace your camper skylight with confidence and ensure that it is properly sealed and secured. Remember to use the right tools, consider a tinted skylight, and seal the skylight properly to avoid any future issues.
Where Can I Buy A Replacement RV Skylight?
There are several places where you can buy a replacement RV skylight. One option is to check with your local RV dealer or repair shop. They may have the specific skylight you need in stock, or they can order it for you. This can be a convenient option if you need the replacement quickly and don’t want to wait for shipping.
Another option is to look online. There are many online retailers that specialize in RV parts and accessories. These retailers often have a wide selection of skylights to choose from, and you can easily compare prices and features to find the best option for your needs.
Check out our other helpful RV repair and troubleshooting guides while you’re here: