
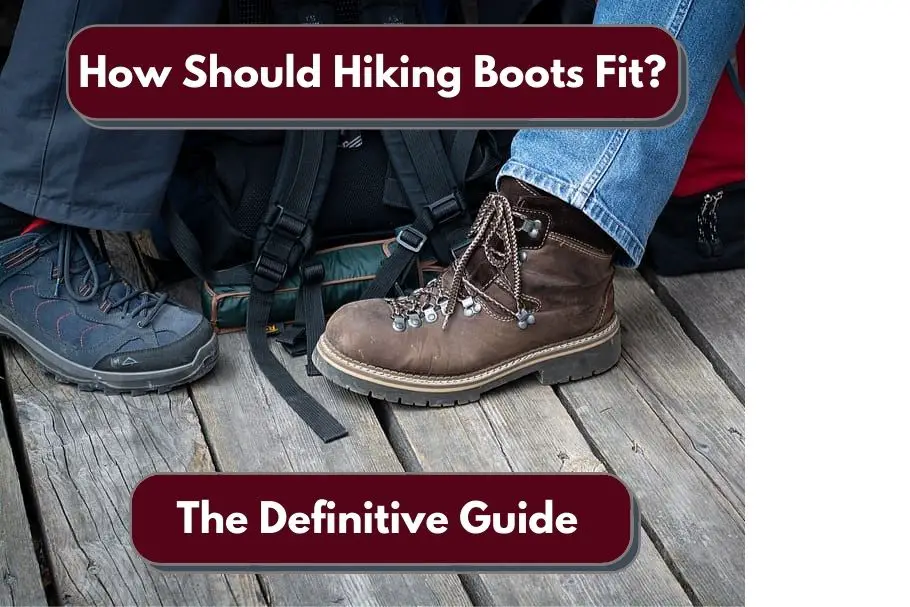
We get many users asking us how hiking boots should fit every week. There are many choices when it comes to hiking boots, and each have their own characteristics on how they fit your feet.
The choices and key points to pay attention to can be overwhelming, which is exactly why we created this guide.
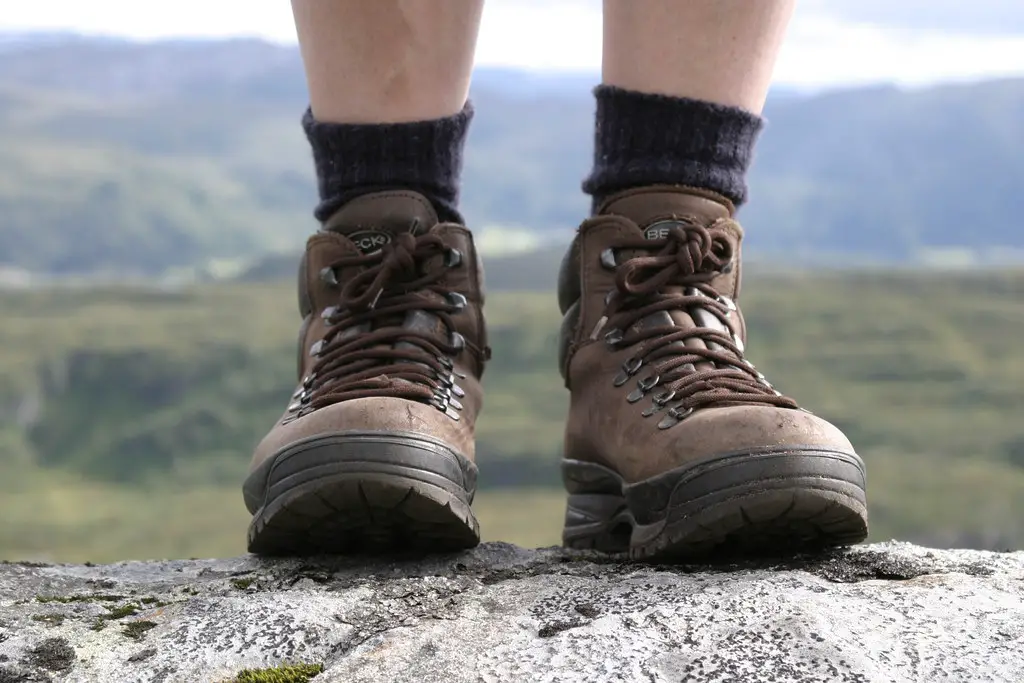
Hiking boots should fit snugly around the sides and heel of your foot, provide sturdy ankle support, and leave an inch in the front for your toes. You should always try on hiking boots at the end of the day to consider foot swelling, and wear your usual pair of hiking socks.
Here are some key points to look for when you’re thinking about how hiking boots should fit:
- You should have at least an inch of toe room in the front, and enough room for your toes to wiggle around.
- Up to a quarter-inch heel lift is okay at first – after your boots are broken in this heel room should resolve itself, otherwise you can use a heel grip to close the gap.
- If you ever start to feel like your foot is falling asleep (aka “pins and needles”), this is a sign that your boots are too tight, and it’s time to move up a size or try thinner socks if you’ve already purchased the boots and can’t return them.
- If you’re flat-footed, you’ll need to consider a half-size up in hiking boot to make room for orthopedic insoles to support your arches.
There are many additional factors to consider as you fit yourself for a new pair of hiking boots – read on for an in-depth analysis and what to look for.
How Should Hiking Boots Fit?
There are many components to a well-fitting hiking boot, and keeping all of these in mind as you shop can result in the perfect-fitting pair of hiking boots that give you years of enjoyment. We’ll explore this further in depth below.
Check Your Hiking Boot Length
Leave the boot unlaced, stand up, and slide your foot forward until your toes touch the end of the boot.
Then, slide a finger between your heel and the back of the boot. If you can fit one finger in the gap, you’re on your way to a proper boot length.
If you can fit more than one finger, move down a boot size. If you can’t fit a finger in, move up a boot size.
Pro tip: most people have one foot that is slightly longer than the other – make note of this before trying on hiking boots! Some stores may allow you to purchase boots of different sizes, which you should take advantage of if the difference in your feet sizes is pronounced.
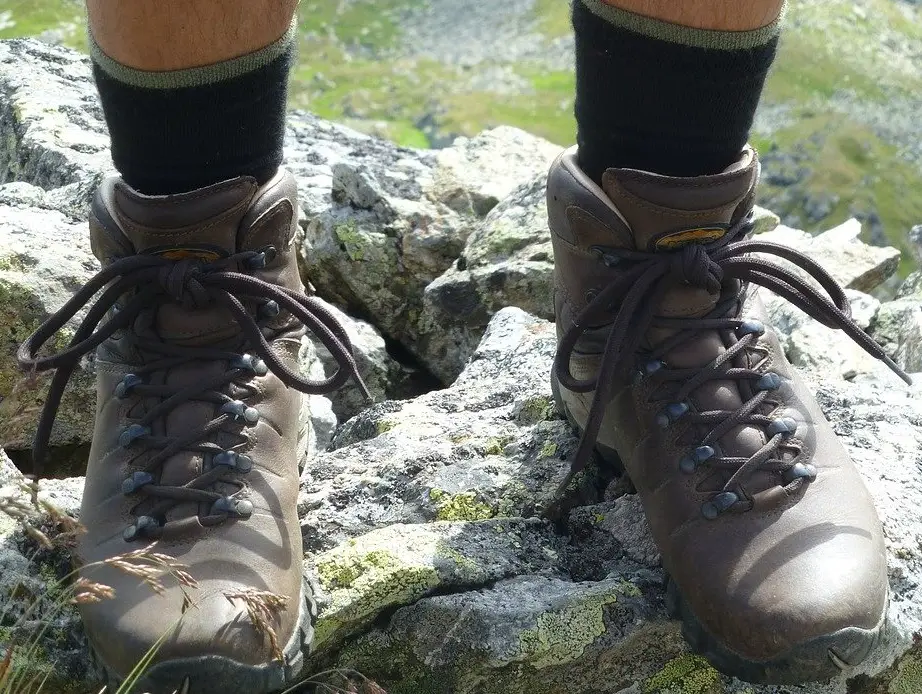
Check Your Hiking Boot Width
Once you’re done testing for length, lace up your hiking boots. Pay attention to the sides of your feet and toes.
If they feel crunched or squished, the boot is too narrow, and it’s time to try on a different pair with a wider bottom or wider toe box.
If you can move your foot from side to side while in the boot, the boot is too wide. This can cause additional friction and can lead to blisters- no good!
Aim for a fit that is snug but not uncomfortable when checking hiking boot width.
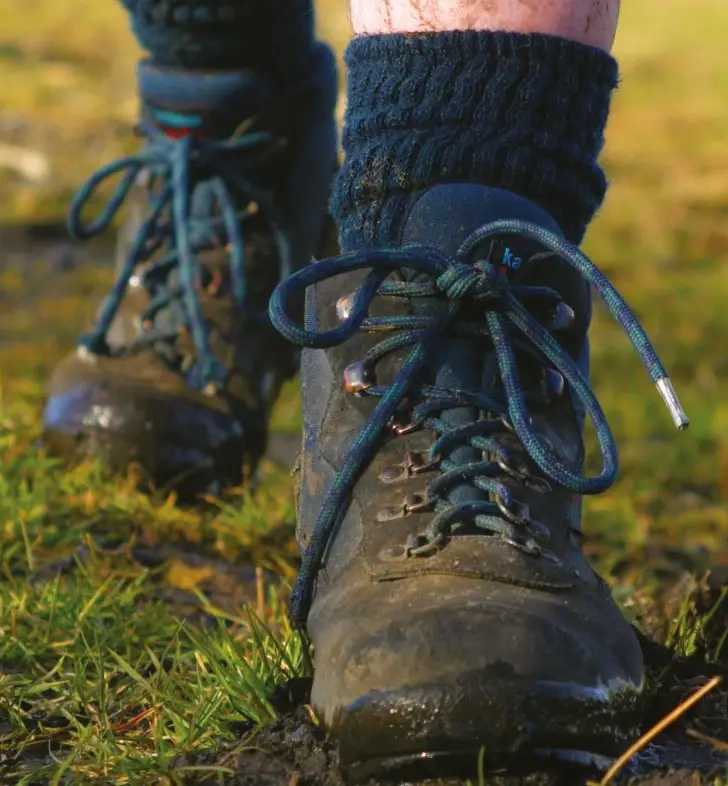
Check For Heel Lift In Your Hiking Boot
Your heel should feel locked in position inside your boot, not sliding up or down as you walk. Heel lift will cause blisters, so don’t dismiss this!
When lacing your boots up, you can leave the area over the top of your foot a little loose, but tightly tie the area across your ankles to make sure your heel stays in place.
Stand on your toes and walk around a bit to check for any lift in your heel. A quarter inch or less is okay here.
Wear Socks When Checking Fitting For Hiking Boots
This may seem obvious, but be sure to wear your hiking socks when trying on hiking boots to ensure a more accurate fit.
If you use neoprene hiking socks or additional supports or sock liners, it’s best to bring those too.
Try An Inclined Surface When Trying On Hiking Boots
Naturally, you’ll be hiking on inclines and declines when on the trail – it’s best to test your hiking boots on such surfaces as well!
Most decent outdoor gear stores will have inclined surfaces so you can properly test your boots.
Additionally, spend 10 to 15 minutes wearing and walking around in the hiking boots to make sure everything fits longer-term.
Try On Hiking Boots Near The End Of The Day
Because your feet can naturally swell up to half a size larger at the end of the day, it’s best to try on hiking boots in the evening.
Doing so simply ensures that you have the best fitting hiking boots for your foot’s maximum size.
Wear A Heavy Load When Trying On Hiking Boots
If you’re a long-haul hiker or backpacker, you’ll want to make sure your hiking boots fit well and can support the real-world weight of the gear you’re usually carrying.
Make sure to bring a full backpack or something that at least approximates the normal amount of weight you’ll be carrying on your hikes.
This can impact how your hiking boots feel and even certain pressure points, so don’t skip this step.
Match The Flex Of Your Boot To The Intended Terrain
If you’re mostly hiking flat terrain, a flexible boot is a smart choice: they don’t need a whole lot of breaking in, and you won’t need the stiffness that rocky or uneven terrain demands from hiking boots.
If you’ll be hiking on steep inclines, rocky paths, or other rough terrain, you’ll definitely want a stiffer sole. This will reduce foot pain.
Keep in mind that stiff-soled hiking boots have a longer breaking-in period, so wear them casually for a few weeks or on a few quick and simple hikes before going on a long-haul hike with them.
Know Your Options For Fit Adjustments
If you’ve found nearly the perfect fitting pair of hiking boots but something’s just barely off, you have options.
You can experiment with thicker or thinner socks to dial in width issues.
If your heel is slipping a bit too much, you can look at swapping out your hiking boot insoles.
Break In Your Boots Before The First Hike
Wear your boots around casually for a week or more before taking your first hike. This gives the materials a chance to soften and expand, decreasing the chance of you developing blisters in your new boots.
How Hiking Boots Should Fit On Each Part Of Your Foot
How Hiking Boots Should Fit On Your Toes
You’ll want to make sure your toes have the most space over any other part of your feet in your hiking boots.
Be sure to have roughly an inch between your toes and the end of the boot. This will make sure you aren’t hitting the front of your toes on the boot during your hike, which can lead to damaged or lost toenails.
Also make certain that you can wiggle your toes up, down, and to the sides in your boots.
How Hiking Boots Should Fit Under Your Arches
You’ll want either a slight gap or very light contact beneath your arches when your boots are brand new.
Once your boots are broken in, your heel and ball of your feet will form depressions in the soles of your hiking boots, allowing additional arch support.
If you have flat feet, consider special orthopedic inserts to minimize foot pain and extend the length (and enjoyment) of your hikes.
How Hiking Boots Should Fit The Middle Of Your Foot
The boots should fit snugly on each side of your feet in the middle, but not so tight that your feet feel compressed.
Make sure your feet can’t move side-to-side in your hiking boots- this can compromise your ankle stability.
You can adjust the width of your hiking boots with different boot tying methods and by testing different hiking sock thicknesses. Experiment with a few different setups until you get this dialed in.
How Hiking Boots Should Fit Your Heel
The back of your heel should have contact with the back of your boot, but should not be uncomfortable.
Ideally, your heel will have no movement within the boot, but up to a quarter inch is acceptable, especially while the boots are being broken in.
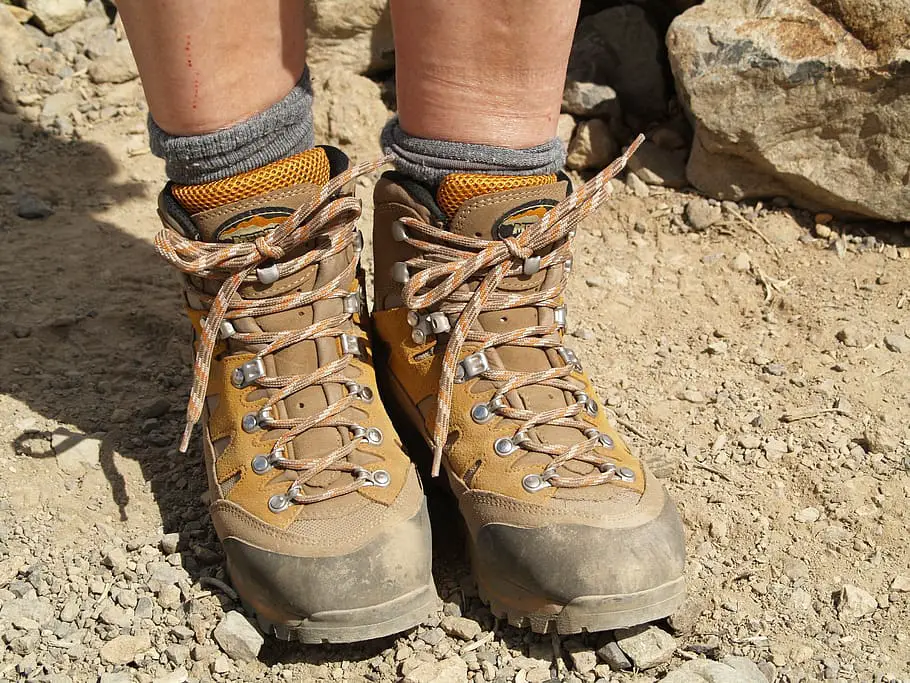
How Hiking Boots Should Fit Your Ankle
Your hiking boots should be touching your ankle and lower leg throughout the height of the boot.
Maintaining this contact between your ankle, leg, and the boot allows your boot to absorb the majority of the pressure in case of ankle twists, helping to keep the workload off your ligaments and tendons, allowing the boot to do the work.
This will help reduce the likelihood of sprains or breaks.
Ankle support is critical at all times, but it’s importance is magnified when you’re hiking with a heavier pack – that extra weight is all transferred to your joints if your boots don’t provide proper ankle support.
How Hiking Boots Should Fit The Top Of Your Foot
As your boots break in, you will notice more room between the top of your foot and the top of your boot. Some boot room in this area is fine.
The main thing to pay attention to here is that no materials inside the boot are digging into the tops of your feet- this will cause discomfort and could result in blisters later on.
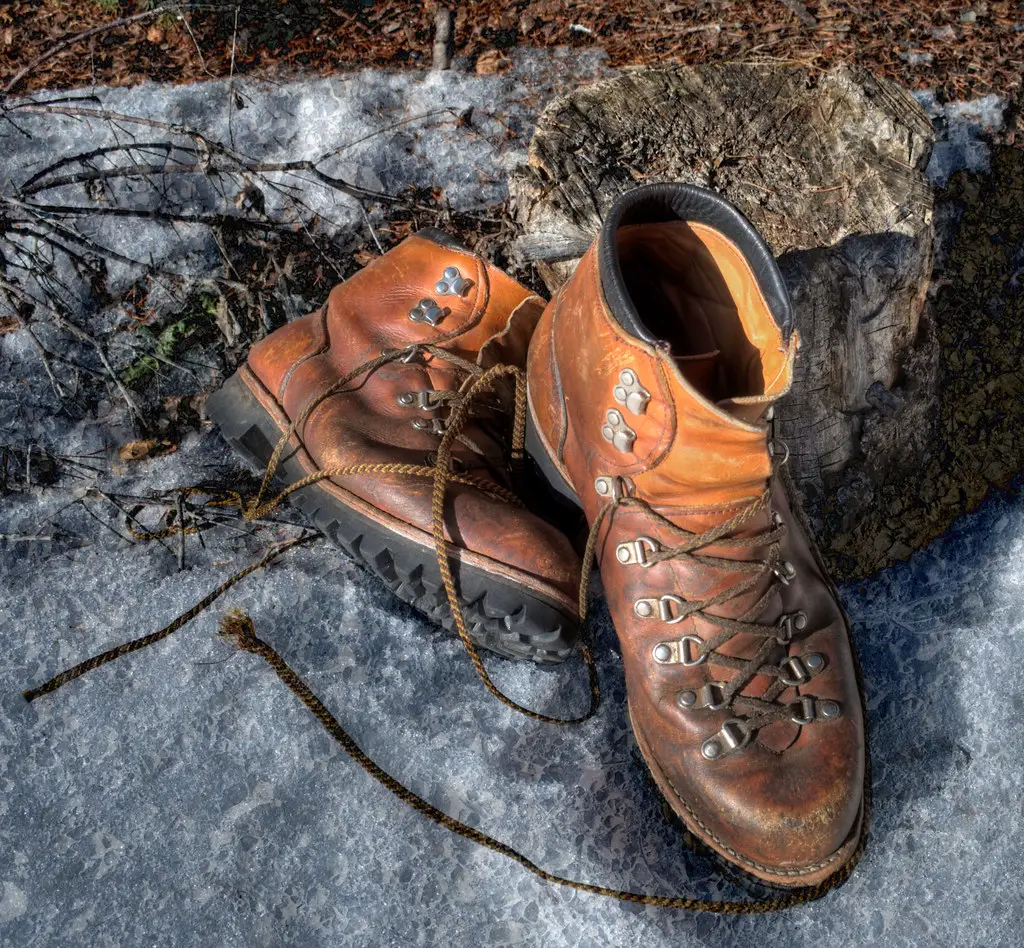
Different Types Of Hiking Boots – And How They Fit Differently
There are many types of hiking boots available, and all the options can be overwhelming. Make sure to pick the right type of hiking boot for your intended use.
Let’s break down the most common types of hiking boots you’ll encounter while looking for your next pair.
Hiking Shoes
These low-cut models offer flexible midsoles and are best used for day hiking.
Day Hiking Boots
Day hiking boots come in mid and high-cut options and are best for day hiking or shorter backpacking trips with lighter loads.
They’re easy to break in and have decent flex, but they don’t offer as much support as proper backpacking boots.
Backpacking Boots
You’ll want a pair of proper backpacking boots if you’re doing trips spanning several days, or going deep into the wilderness.
These boots usually come in high cut only, wrapping around the ankle to give extra support.
Backpacking boots are durable and offer stiffer midsoles than lighter boot options, and have the support you’ll need both off and on the trail.
Waterproof vs Non-Waterproof
Hiking boots come in both waterproof and non-waterproof options. Waterproof boots are great at resisting moisture, but are less breathable.
The choice is up to you, but be sure to select the right option for your needs.
If you’ll be hiking in snow, crossing streams or creeks, or otherwise getting outside in wet conditions, you’ll absolutely want to opt for a waterproof hiking boot.
If you don’t plan on hiking in these conditions, you can go non-waterproof.
Minimalist, Barefoot, and Zero-Drop Hiking Shoes
These shoes are intended to minimize padding and support to allow you to get as close as possible to a barefoot experience while still providing some protection and grip.
Choosing this type of hiking shoe is largely up to personal preference, and you’ll need to try them on to see if a barefoot-feel is right for you.
What To Know About Hiking Boot Components
Hiking Boot Uppers
What material your boot is made from determines critical factors like weight, durability, water resistance, and breathability. Read on to see what materials you’ll come across when shopping for hiking boots.
Full Grain Leather
-Full-grain leather is durable and resists abrasions, and also offers great water resistance. You’ll typically find full-grain leather used in backpacking boots.
-Full-grain leather is not as breathable or as light as split-grain leather or nylon. Also, full-grain leather boots take longer to break in.
Split Grain Leather
-Split-grain leather is usually combined with nylon to offer a breathable and lightweight hiking boot.
-Split-grain leather will result in a lower cost boot, but also is less resistant to water and scuffs.
Nubuck Leather
-Nubuck leather is simply full-grain leather that has been buffed to look like suede.
-Nubuck is durable and resists abrasions and moisture, and is flexible too.
-Expect nubuck leather hiking boots to take longer to break in.
Synthetics
-Nylon, polyester, and synthetic leather are all materials used in many of today’s hiking boots.
-Compared to leather, synthetics cost less, break in more quickly, are more lightweight, and dry faster.
-The trade-off with synthetics is that they can wear down faster than leather.
Waterproof Membranes
-Waterproof hiking boots feature breathable and waterproof membranes (like Gore-Tex and eVent) to keep water off your feet.
-You’ll be sacrificing breathability with waterproof hiking boots, which can lead to sweaty feet in warmer hiking conditions, but waterproofing is a must if you’ll be doing longer hikes in wet conditions.
Vegan Materials
-Vegan materials are made without any animal ingredients. Modern vegan hiking boots are beefy enough to provide plenty of protection and come in waterproof options.
Insulation
-Some hiking boots offer added synthetic insulation to provide additional warmth, which is a plus if you’ll be hiking in snow or colder conditions.
Hiking Boot Midsoles
The boot’s midsole provides cushioning for the foot and helps to absorb shocks.
The midsole provides stiffness to the boot, which can provide better comfort and stability when hiking on rocky and uneven terrain.
Most midsoles are made from either EVA (ethylene vinyl acetate) or polyurethane.
EVA Midsoles
-EVA is lighter, less expensive, and provides more cushioning than polyurethane, and comes in different densities to provide more support in needed areas within the boot.
Polyurethane Midsoles
-Polyurethane is more durable and firmer than EVA, making it a common choice in backpacking and mountaineering boots.
Hiking Boot Internal Support
Shanks
-Shanks are inserts between 3-5mm thick that are placed between the hiking boot’s outsole and midsole to provide stiffness and load-bearing.
-Shanks vary in length, ranging from covering half the boot or all the way to the entire length of the boot.
Plates
-Plates are semi-flexible, thin inserts that may be found in boots either alone or in conjunction with shanks.
-Plates allow additional foot protection against uneven terrain like tree roots or rocks.
Hiking Boot Outsoles
Rubber is the main material used on nearly all outsoles of hiking boots. Sometimes, additives like carbon are included to increase the rubber’s hardness.
This hardness is great for durability, but can get slick on wet terrain, especially off trail.
Lug Pattern Outsoles
-Lugs are bumps on the outsole designed to provide traction. Mountaineering and backpacking boots feature deeper and thicker lugs to increase grip.
-Wide-spaced lugs help to shed mud and offer good traction.
Heel Brake Section
-The heel brake section of a hiking boot’s outsole is specially designed to increase heel grip to reduce your chances of sliding while hiking steep declines.
-Opt for a hiking boot with a heel brake on the outsole if you plan on hiking steep terrain.
Crampon Compatibility
Crampons are hiking boot attachments that improve mobility on snow or ice, typically in ice climbing.
If that’s something you’ll be doing, be sure that you pick a boot that offers compatibility with crampons.
Frequently Asked Questions About How Hiking Boots Should Fit
Should I Buy Hiking Boots One Size Bigger?
It’s common advice among hikers to buy hiking boots one size larger than your average shoe size to accommodate for the swelling of your feet and to provide ample toe room.
Instead, we suggest trying on hiking boots at the end of the day (when your feet are already swollen) to get a better feel for the size of hiking boot you’ll need.
Feel free to move up a half-size based off of how the boot feels, and always be sure you have enough toe room.
How Should My Hiking Boots Feel?
Hiking boots should have enough room for your toes to wiggle up and down and side to side, should support your ankle, and should have a quarter inch or less of heel action.
You should be able to fit one finger snugly in between your heel and the back of the boot when your toes are touching the front of the boot.
You should also feel the boot hugging the sides of your foot without pinching or constricting.
Do I Need Insoles For Hiking Boots?
The need for hiking boot insoles largely comes down to personal preference and if you’re trying to dial in the fit of your boots.
If you have conditions such as structural misalignment, plantar fasciitis, or supination/over-pronation issues, hiking boot insoles can be of great help to you.
How Do I Know If My Hiking Boots Are Too Big?
Your hiking boots are too big if:
- Your heel is slipping
- Your foot can move side-to-side in the boot
- Your ankle feels wobbly within the boot
To combat this, you can use insoles or experiment with thicker hiking socks to decrease movement and improve stability within the boot.
Should I Wear Special Socks To Try On Hiking Boots?
We recommend wearing the hiking socks you usually use when trying on hiking boots, which will give you a more accurate feel.
If you use inserts, insoles, or orthopedic products, bring those along with you too.
Should I Buy Leather Or Synthetic Hiking Boots?
This is up to your budget and personal preference. Leather costs more and takes longer to break in, but is more durable over time and can stretch to fit your feet, resulting in a great fit.
If you’re on a budget, synthetic hiking boots work excellently as well.
Do Hiking Boots Fit Differently Than Regular Shoes?
Most regular shoes are designed for comfort and casual use. You should expect hiking boots to leave more room in front of your toes to be tighter on the sides and heel compared to regular shoes.