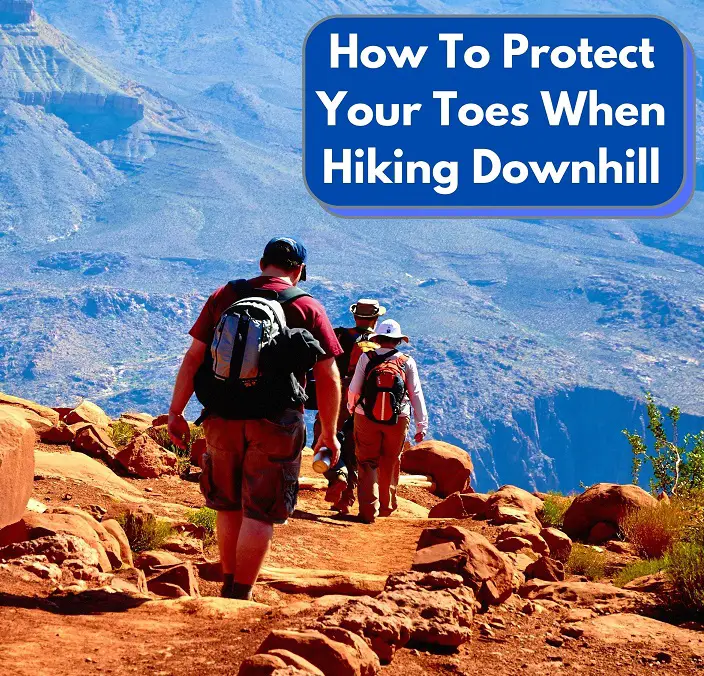
Toe pain when hiking is not fun to deal with at all, and knowing how to protect your toes when hiking downhill is critical to ensuring your hike is enjoyable and doesn’t get cut short. Failure to protect your toes when hiking downhill can lead to toenail loss, pain, or injury.
16 Easy Tips For How To Protect Your Toes When Hiking Downhill
- Wear Properly Fitting Hiking Boots
- Break In Your Hiking Boots
- Keep Your Toenails Cut Straight
- Use Hiking Boot Insoles To Keep Your Feet In Place
- Lace Up Your Hiking Boots The Right Way
- Double Up On Hiking Socks
- Pick Hiking Boots With Good Arch Support
- Use Hiking Or Trekking Poles
- Air Your Feet Out Periodically While Hiking
- Re-tie Your Boots While Hiking
- Lighten Your Load
- Hike Downhill In A Zig-Zag Pattern
- Change Out Your Socks
- Tape Your Toes
- Elevate Your Feet On A Hiking Break
- Bring Backup Insoles And Clippers
We’ll explore each of these methods for protecting your toes when hiking downhill in depth below.

Wear Properly Fitting Hiking Boots
It’s important to make sure you’re starting off with a pair of well-fitting hiking boots.
Hiking boots that don’t offer good arch support will allow your feet to slide forward and increase your chances of toe damage when hiking downhill.
As a general rule, hiking boots should be purchased a ½ size larger than your regular shoe size, have a roomy toe box, and provide proper ankle support.
The larger size allows your feet to have room in the boot without smashing your toes in the front, while a roomy toe box allows your toes to wiggle from side to side which is critical when hiking.
Check out our guide on how should hiking boots fit for some great tips to ensure your hiking boots feel great.
Break In Your Hiking Boots
If you’ve been wearing your hiking boots for a good while now then you can skip this step.
However, if you have a newer pair of hiking boots then you must properly break them in first.
The breaking-in process allows your hiking boots to conform to the natural shape of your feet and start to bend the materials to how your feet naturally move.
There are plenty of methods on how to break in hiking boots, but the simplest is to just start wearing them around the house and throughout your daily life, paying attention to any hot spots or pain points in your boots and taking them off once they begin to hurt.
Repeat this process as much as you can, increasing the amount of time and distance you wear your hiking boots until there’s no pain at all.
Once you’ve reached this level, your boots are ready for hiking.
If your boots are already broken in but you still have some tight spots, check out our guide on how to stretch out hiking boots.
Keep Your Toenails Cut Straight
Before you go hiking, you need to make sure your toenails are cut properly.
Wait, there’s a proper way to cut toenails for hiking? Yes, there is.
Instead of cutting your toenails with a rounded edge, cut them straight. The straight cut will reduce friction between your toenail and the surrounding skin.
Be sure to not leave your toenails too long, as they can press into the toe caps of your boots, which is quite painful.
Conversely, make sure not to cut them too short (to avoid ingrown toenails), and always use a proper toenail clipper.
Keep Your Feet In Place With Insoles
Finding a good hiking boot insole with proper arch support will help hold your feet in place as you hike, prevent slipping of your feet inside your boots, and provide extra protection for your toes when hiking downhill.
We recommend the Superfeet Trailblazer Comfort Orthotic Insoles.
Lace Up Your Hiking Boots Properly
Lacing up your hiking boots the right way can make all the difference in preventing toe injuries on the trail.
The double overhand knot is the best lacing method we’ve tried, as it does a great job of keeping hold and making sure your foot doesn’t slide forward as you hike down hills.
Take a look at this video on how to tie the Double Overhand Knot:
Double Up On Hiking Socks
Wearing two pairs of socks while hiking is a great way to protect your toes.
The first sock (the one that goes on your feet) is called the inner sock or liner sock, while the second layer (the one that makes contact with your boot) is called the outer sock.
Experiment with wearing both layers inside out to create additional traction within the boot and sock layers and provide extra comfort for your toes and toenails (since the inner seams of your socks won’t be rubbing against them).
We recommend hiking socks that are made of breathable, moisture-wicking materials like merino wool or polyester.
Be sure to steer clear of cotton socks as they absorb moisture and take a very long time to dry – two things you DON’T want in a hiking sock!
Pick Hiking Boots With Good Arch Support
While insoles can go a long way, you’re best off making sure your initial choice in a hiking boot can properly support your arches.
Good arch support keeps your foot and heel in place, preventing your foot from sliding forward and having your toes smash into the front of your boots as you hike downhill.
As we recommended earlier, check out our guide on how should hiking boots fit for a deep dive.
Use Hiking Or Trekking Poles
Trekking poles help shift the weight off your feet so you hit the ground with less force, making downhill hiking easier on your toes (and your knees).
Air Your Feet Out While Hiking
As you’re out enjoying the outdoors and taking a break on the trail, use that time to remove your hiking boots and socks to let your feet get some fresh air.
Taking this break allows the moisture on your feet to dry and will help your socks and boots to dry slightly as well, reducing the chances of blisters.
Re-Tie Your Boots While Hiking
No matter how great of a job you did tying those hiking boots up before your trek, chances are that they will grow loose as you move, putting your toes at risk.
If you feel movement in your boot when there shouldn’t be, stop and re-tie your boots – you’ll be glad you did.
Lighten Your Load
Try to pack as little as possible in your hiking backpack.
Not only does this help you save much-needed energy for hiking, but extra pack weight also causes your arches to flatten which can cause your feet and toes to jam into your boots.
Hike Downhill In A Zig-Zag Pattern
Walking straight down hills creates more forward pressure, allowing gravity to work against you and pushes your feet forward inside your hiking boots.
Although it takes longer than walking straight down, the constant pressure of toes jamming into the front of your boot can damage your toenail, causing a lot of pain.
Walking in a zig-zag pattern down declines takes the pressure off the front of your feet, saving your toes and reducing the amount of strain your knees take on as well.
Change Out Your Socks
If you’ve brought along an extra pair of hiking socks in your backpack, change them out when you stop for a break on the trail.
Dry feet are prone to less friction which cuts down on blisters.
You can even consider trying toe socks for hiking to separate your feet, reduce friction, and further cut down on moisture.
Tape Your Toes
If you notice a hot spot on your toes while hiking it’s best to tackle it head-on.
Wrap a few layers of Moleskin, Leukotape, or Rock Tape around the sensitive area to prevent blisters from forming.
Elevate Your Feet On A Hiking Break
Any hike should include some rest stops to enjoy yourself.
Elevating your feet and legs while taking a break will increase circulation and reduce swelling, which can also reduce muscle fatigue and soreness after your hike – win-win!
Bring Backup Insoles And Clippers
If you’ve got the room, throw an extra pair of hiking boot insoles and toenail clippers in your backpack – they’re lightweight and shouldn’t take up too much extra space.
The toenail clippers will be a lifesaver if you forgot to trim before the hike, and you can swap out the insoles halfway through your hike for the added arch support and dryness.

Why You Should Know How To Protect Your Toes When Hiking Downhill
Avoid Nail Damage
If your toes and toenails are constantly bumping into the fronts of your boots, it can lead to some serious damage.
If nothing else, it will be painful – but sometimes you can bruise the toenail and end up with a blackened toenail.
Otherwise you risk cracking it or even losing it entirely – and toenails take a good bit of time to grow back!
Reduce Hot Spots And Blisters
Toes can be sneaky – you may not feel a hotspot until a blister has already formed on your toe.
Prevention is truly the cure here – keep your toes and feet dry, and wear good-fitting hiking boots.
Steer Clear Of Toe Swelling
Your feet and toes will swell over long hikes, and as they enlarge this can cause friction inside your boot – leading to hot spots and blisters.
Prevent Calluses
While foot calluses are actively pursued by many hikers, toe calluses are quite painful. Proper protection of toes while hiking will prevent these calluses from forming.
How To Protect Toes When Hiking Downhill: Wrapping Things Up
There are plenty of ways you can protect your toes when hiking downhill that will make for a better overall hiking trip and prevent pain or injury, and you should try as many of them as you can until you get the right mix that works best for you.
While you’re here, check out our guides on how to prepare feet for hiking and how to prepare and strengthen your knees for hiking to make sure your extremities are completely trail ready.

