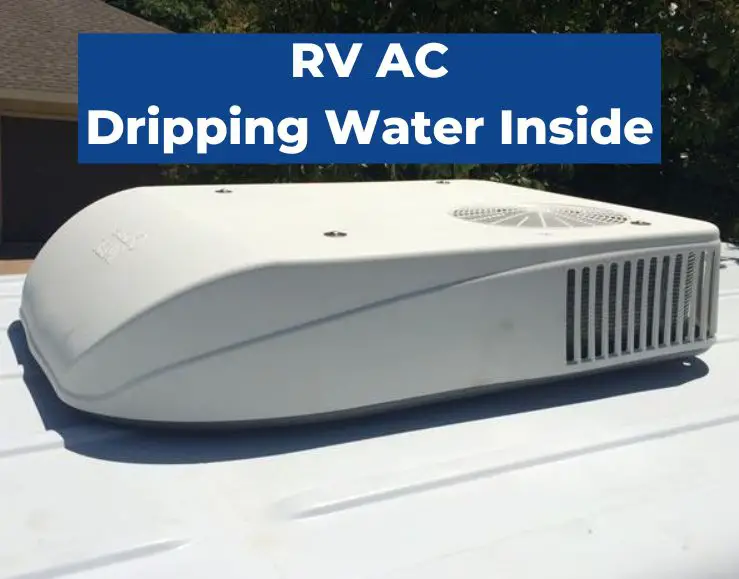
RVs are a popular choice for travel enthusiasts who enjoy the freedom of the open road. However, when your RV air conditioner starts dripping water inside, it can be frustrating and uncomfortable. There are several reasons why an RV AC may leak water inside, ranging from clogged filters to malfunctioning components.
One of the most common causes of RV AC water leakage is a blocked or restricted drain line or drain pan. Over time, dust and debris can build up in these areas, preventing water from draining properly and causing it to overflow into the RV. Another possible cause is a malfunctioning thermostat, which can cause the air conditioner to operate longer than necessary and create more water.
If you’re experiencing water leakage from your RV AC, it’s important to address the issue as soon as possible. Ignoring the problem can lead to further damage and costly repairs down the line. By understanding the common causes of RV AC water leakage and taking steps to fix the issue, you can ensure that your travels are comfortable and stress-free.
Why is My RV AC Dripping Water Inside?

When an RV AC unit starts dripping water inside, it can be a frustrating problem. There are several reasons why this may happen, including clogged drain lines, frozen evaporator coils, and worn-out seals. Understanding how an RV AC works can help identify the root cause of the problem and fix it.
Understanding How an RV AC Works
An RV AC unit works by removing heat and moisture from the air inside the RV. The unit pulls in warm air from the RV and passes it over cold evaporator coils, which remove the heat and moisture from the air. The cooled and dehumidified air is then blown back into the RV, while the heat and moisture are expelled outside.
To accomplish this, the RV AC unit uses a compressor, a condenser, an evaporator coil, and a refrigerant. The refrigerant is a chemical that absorbs heat when it evaporates and releases heat when it condenses. The compressor pumps the refrigerant between the condenser and evaporator coil, creating a cycle that removes heat and moisture from the air.
Common Causes of RV AC Dripping Water Inside
Several factors can cause an RV AC unit to drip water inside. Here are some of the most common:
- Clogged drain lines: Over time, dirt, dust, and debris can build up in the drain lines, preventing water from draining properly. This can cause the water to overflow and drip inside the RV.
- Frozen evaporator coils: If the evaporator coils freeze over, they can’t remove moisture from the air properly. This can cause the moisture to accumulate and drip inside the RV.
- Worn-out seals: The seals around the AC unit can wear out over time, allowing water to leak through and drip inside the RV.
- Newly installed air conditioner: If the AC unit was recently installed, it’s possible that the installation was not done correctly. This can cause issues with the drain pan, evaporator coil, or other components, leading to water dripping inside the RV.
Fixing the Problem
To fix an RV AC unit that’s dripping water inside, it’s important to identify the root cause of the problem. Here are some steps that can help:
- Clean the evaporator coils: If the coils are dirty or clogged, they can’t remove moisture from the air properly. Cleaning the coils can help improve their efficiency and prevent water from dripping inside.
- Fix the problem with the drain pan and evaporator coil: If the drain pan or evaporator coil is damaged or clogged, it can cause water to overflow and drip inside the RV. Fixing the problem with these components can help prevent water from dripping.
- Unclog the drain holes: If the drain holes are clogged, water can’t drain properly and can overflow into the RV. Unclogging the holes can help prevent water from dripping.
- Check for a small hole: Sometimes, a small hole can develop in the drain pan, allowing water to leak through and drip inside the RV. Finding and fixing the hole can help prevent water from dripping.
- Ensure that the air conditioner is running properly: If the AC unit is not running properly, it can cause issues with the evaporator coil, drain pan, or other components. Ensuring that the unit is running correctly can help prevent water from dripping inside the RV.
By following these steps, RV owners can identify and fix the problem with their AC unit, preventing water from dripping inside and causing damage to their RV.
Common Causes of RV AC Leaks

When an RV air conditioner starts to drip water inside, it can be frustrating and problematic for the RV owner. There are several reasons why an RV AC may leak. Here are some of the most common causes of RV AC leaks.
Blocked Drain Line Or Drain Pan
One of the most common reasons for an RV AC to leak is a blocked drain line or drain pan. When debris like dirt, dust, and leaves accumulate in the drain pan, it can clog the drain line, causing water to overflow into the RV. To fix this issue, RV owners should remove the shroud on the AC and clean the affected area. They should also ensure that the drain pan is draining properly.
RV AC Components Are Broken Or Worn
Another common cause of RV AC leaks is broken or worn components. When components like the evaporator coils, pipeline, and gaskets are worn or damaged, they can cause water to leak inside the RV. RV owners should inspect the AC components regularly and replace any worn or damaged parts to prevent leaks.
Your RV AC Was Installed Improperly
Improper installation of the RV AC can also cause water leaks. If the AC is not installed correctly, it can cause the drain pan to slope in the wrong direction, leading to water accumulation and leaks. RV owners should ensure that their AC is installed correctly by a professional to prevent this issue.
In summary, RV AC leaks can be caused by a variety of factors, including blocked drain lines or drain pans, worn or broken components, and improper installation. RV owners should regularly inspect their AC components and ensure that their AC is installed correctly to prevent leaks.
How to Fix the Water Leak Issue?

If you are experiencing a water leak issue with your RV air conditioning unit, there are some steps you can take to fix the problem. Here are some sub-sections to help you troubleshoot and fix the issue.
Check if the Water Drains Properly
One of the most common causes of water leaking from an RV air conditioner is a blocked drain line. If the water is not draining properly, it can back up and leak into your RV. To fix this issue, you can try the following:
- Check the drain line for clogs or debris.
- Use a wet/dry vacuum to suck out any blockages in the drain line.
- Use a pipe cleaner or wire to clear out any stubborn clogs.
By ensuring that the water drains properly, you can prevent leaks and keep your RV air conditioning unit running smoothly.
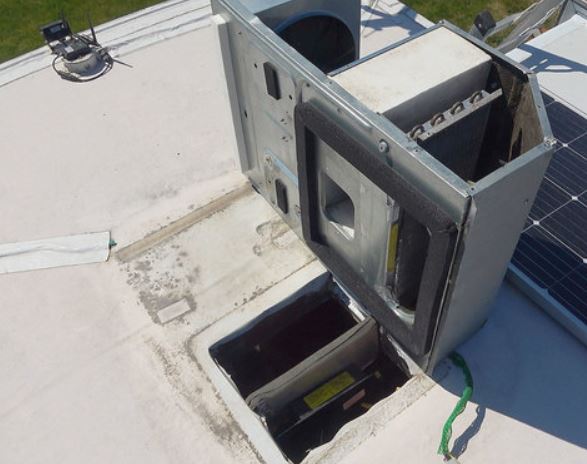
Remove the Evaporator Cover
Another possible cause of a water leak issue is a dirty or clogged evaporator coil. Over time, dirt and debris can accumulate on the coil, preventing it from functioning properly. To fix this issue, you can try the following:
- Turn off the power to the air conditioning unit.
- Remove the evaporator cover.
- Clean the evaporator coil with a soft brush or cloth.
- Remove any debris or dirt from the coil.
By cleaning the evaporator coil, you can improve the efficiency of your RV air conditioning unit and prevent leaks.
In addition to these steps, it is also important to ensure that your RV air conditioning unit is installed correctly and that the gaskets and seals are in good condition. By taking these steps, you can prevent water leaks and keep your RV cool and comfortable on even the hottest days.
Frequently Asked Questions
Cleaning the RV AC coils is an essential part of maintaining the air conditioner. It is recommended to clean the coils at least once a year. However, if you use your RV frequently or in dusty environments, it may be necessary to clean the coils more often. Dirty coils can cause the air conditioner to work harder, which can lead to higher energy bills and decreased efficiency.
Clogged drains are a common cause of RV air conditioner leaks. To unclog the drain, turn off the air conditioner and locate the drain line. Use a wet/dry vacuum to suction out any debris or buildup in the drain line. Alternatively, you can use a pipe cleaner or long brush to remove any blockages. Once the drain is clear, pour a cup of bleach down the drain to kill any bacteria or mold.
Running the RV air conditioner all the time can lead to higher energy bills and decreased efficiency. It is recommended to only run the air conditioner when it is necessary to keep the RV at a comfortable temperature. When the temperature cools down outside, turn off the air conditioner and open windows to let in fresh air. Additionally, running the air conditioner constantly can cause wear and tear on the unit, which can lead to more frequent repairs.
If you want to get your RV air conditioner to run colder, there are a few things you can try. First, make sure the air filter is clean and not clogged. A dirty filter can restrict airflow and reduce cooling efficiency. Additionally, check the thermostat settings to ensure the temperature is set correctly. If the air conditioner is still not cooling enough, it may be time to have it serviced by a professional.
Check out our other helpful RV DIY guides while you’re here:
Causes and fixes for an RV AC freeze up
How to troubleshoot a Dometic thermostat
How to perform RV mold remediation

