
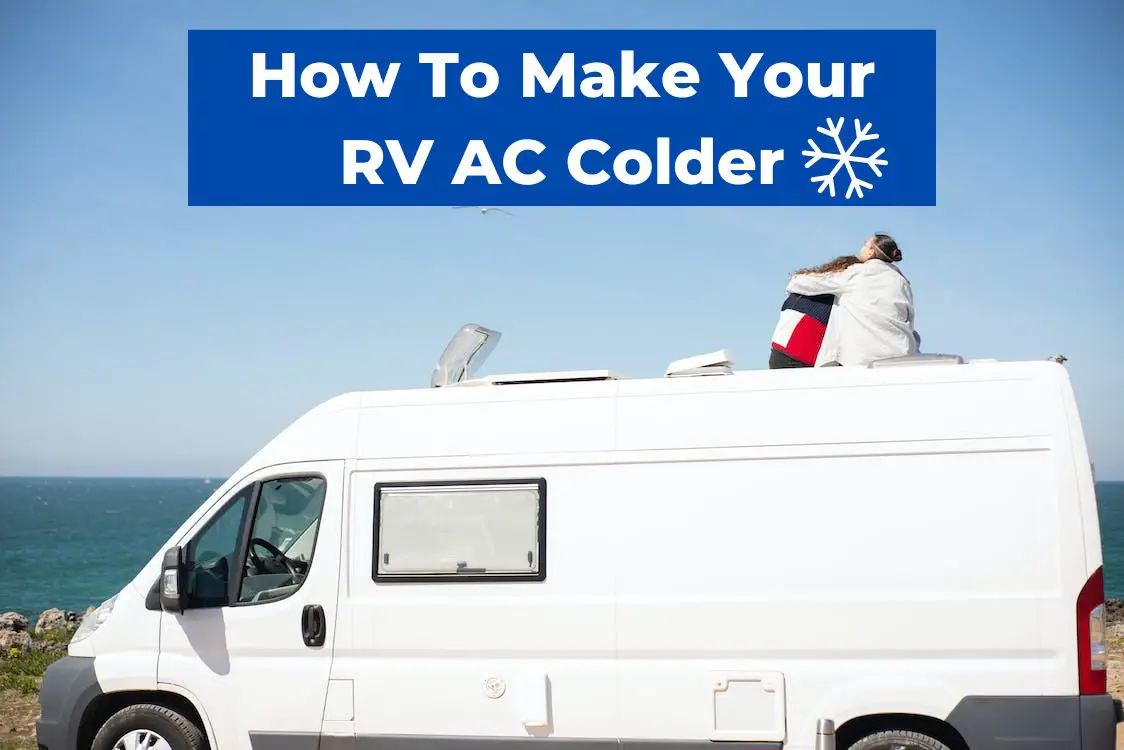
For RV enthusiasts, a well-functioning air conditioner is essential for a comfortable and enjoyable trip. However, it is not uncommon for RV air conditioners to struggle to provide sufficient cooling, especially when the temperature outside is high. That’s why we get so many of our readers asking: how do I make my RV air conditioner colder?
One of the most straightforward ways to improve the performance of your RV air conditioner is to ensure that the unit is clean and free of debris. Over time, dust, dirt, and other particles can accumulate on the air conditioner’s filters and coils, which can reduce its efficiency. By cleaning the filters and coils regularly, you can help your RV air conditioner to run more smoothly and provide cooler air.
Another tip to improve your RV air conditioner is to reduce the amount of heat that enters your RV. By minimizing the amount of sunlight that enters your RV and sealing any gaps or leaks around doors and windows, you can prevent warm air from infiltrating your living space. This can help your air conditioner to maintain a lower temperature and keep you cool and comfortable, even on the hottest days.
There are many ways to improve your RV air conditioning that you can try, and we’ll cover all of them in this guide.
How An RV Air Conditioner Works
The compressor compresses the coolant into steam, which is then condensed into liquid by the condenser. The heat is extracted from the return air to expand and evaporate while passing through the evaporator coil. This process removes heat from the air and provides cold air to the RV.
RV AC unit issues arise when the airflow has problems, when the thermostat or another piece malfunctions, or if the conditions within the RV or the weather are not set up optimally.
We’ll cover how to tackle these below.
How To Make Your RV AC Colder
How To Manually Adjust The RV AC Thermostat
Many RV air conditioner unit manufacturers have the “coldest” setting on their thermostats set to a relatively warm temperature – usually in the low to mid 70s, which simply is too hot for most RVer’s!
The reason they claim they do this is to avoid a RV ac freeze up due to overworking the AC unit and having the condensation freeze up on the AC unit, which will render it useless until the problem is fixed.
Anyhow, if your RV”s AC unit has a self-contained thermostat (that is, you don’t have a separate wall thermostat for the unit), you can use some simple household tools like a screwdriver or ratchet to make your RV’s air conditioning colder.
Start by turning all the power off to your rig, including the generator, shore power, inverter, even disconnect the batteries.
Second, remove the cover to your indoor air distributor, and look for the inner part of the thermostat knob which controls the A/C temperature. It may be inside another enclosure inside of the air distributor setup.
Carefully remove the thermostat assembly from the air distributor, which may require removing screws, clips, or bolts.
Once the thermostat assembly is free, look for an adjustment screw. This screw is what sets the minimum and maximum temperature on your RV’s air conditioning unit. The screw is usually not labeled.
Adjust the screw clockwise or counterclockwise by a quarter turn (each manufacturer is different on which direction sets the lowest temperature lower or higher, so you’ll need to experiment here).
Once completed, reassemble everything, turn power back on, and run your air conditioner until it kicks on.
If the air conditioner kicks on and brings the temp in your RV low enough to where you’re comfortable, the process is complete! If not, repeat the process until you find the right setting for you and your RV’s A/C unit.
Note that your lowest RV air conditioning temperature must be at least 62 degrees, otherwise the unit will turn off lower than that.
Here’s a video showing how to manually adjust your thermostat:
Stop Air Leaks To Make RV AC More Efficient
In addition to adjusting the thermostat settings manually, you can also improve the function of your rig’s air conditioning by stopping any air leaks.
The bonus here is that it’ll also make your AC unit much quieter!
You’ll need a screwdriver, double reflective insulation, and foil tape for this small project.
First, turn off all power to the RV’s air conditioning unit.
Next, remove the decorative cover and filter, which are typically held together by philips head screws.
Remove the mounting bracket next, which is held on by more screws. When you remove this bracket, be careful with the baffle separating the cold air intake and the warm air return. The baffle is made up of two separate pieces of overlapping sheet metal held together by foam tape, and be mindful to keep the baffle in its original position.
Remove any loose foil tape from the surround, and replace with horizontal strips of new foil tape. Be sure not to apply the tape to the rubber roof flaps if your RV’s AC unit has them.
Cut the double reflective insulation and wrap them around the inside of the AC unit box, taping the pieces in place around the supply and return ducts.
Cover both sides of the baffle with your double reflective insulation and tape it down.
Reassemble everything starting with the mounting place, then apply some tape to each side of the baffle so no cold air can get into the warm air return.
Lastly, take a knife and score the plastic tabs on the trim cover, then snap them off. Reinstall the trim cover and you’re good to go!
You should notice quite a bit less noise and much more cold air coming into your RV.
Here’s a great video showing you how to mod your RV air conditioner to seal up any air leaks:
Check for Maintenance Issues
Before trying to make your RV air conditioner colder, it’s important to ensure that it’s functioning properly. There are several maintenance issues that can cause your air conditioner to not work efficiently, resulting in less cooling power.
It’s a good idea to routinely check your RV’s heat and air conditioning system as part of your RV dewinterization checklist. Here are some things to check:
Clean the RV AC Air Filter
The air filter in your RV air conditioner is responsible for keeping dust and debris from entering the unit. Over time, the filter can become clogged with dirt and other particles, which can reduce airflow and make your air conditioner work harder to cool your RV.
It’s important to clean or replace the air filter regularly to ensure that your air conditioner is working at its best.
Check the Refrigerant Level
The refrigerant in your RV air conditioner is responsible for absorbing heat from the air inside your RV and releasing it outside. If the refrigerant level is low, your air conditioner won’t be able to cool your RV effectively.
You can check the refrigerant level by using a gauge, but it’s best to have a professional do it to ensure accuracy and safety.
Inspect the Coils
The evaporator and condenser coils in your RV air conditioner can become dirty or damaged over time, which can reduce their ability to transfer heat effectively. Inspect the coils regularly and clean them if necessary.
If the coils are damaged, they will need to be replaced.
By checking for maintenance issues like these, you can ensure that your RV air conditioner is working properly and efficiently, which will help it cool your RV more effectively.
Check Your Voltage
A voltage monitor is cheap and plugs into a wall socket to tell you how much voltage your rig is drawing from shore power.
Electrical overloads can easily occur in the peak of hot season in an RV park, and during that time your unit may be underpowered if it’s pulling less than 102V AC per device.
Optimize the RV Environment
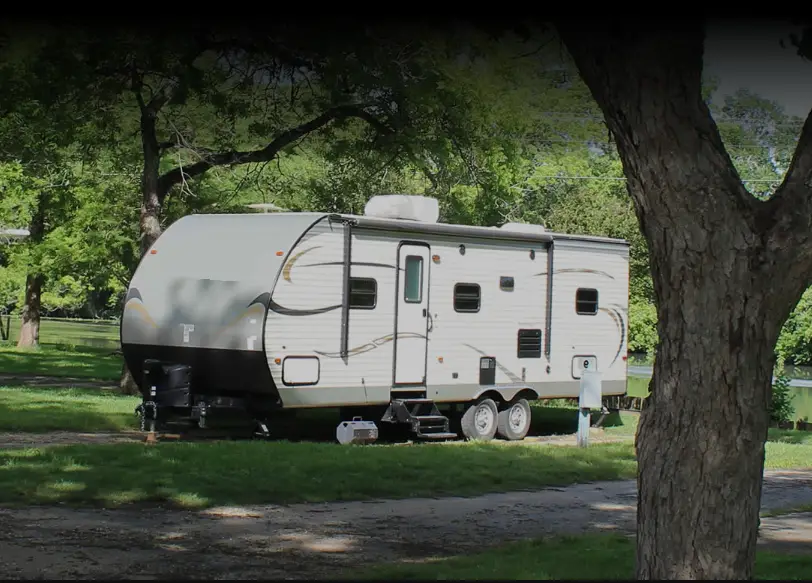
Park in the Shade
Parking in the shade can help to keep the RV cooler and reduce the workload on the air conditioner by up to 20 degrees Fahrenheit.
Therefore, finding a shaded spot to park the RV can make a significant difference in the temperature inside the vehicle.
Insulate the RV
Insulating the RV can help to keep the cool air inside and prevent it from escaping. This can be done by adding insulation to the walls, ceiling, and floors of the RV.
Insulating the RV can reduce the amount of heat that enters the RV, making it easier for the air conditioner to keep the inside of your RV comfortable and cool.
Block Out Sunlight
Blocking out sunlight can help to reduce the amount of heat that enters the RV. This can be done by using shades, curtains, or blinds to cover the windows.
Reflective window covers can also be used to reflect the sunlight away from the RV which can reduce the amount of heat that enters the RV by up to 90 percent!
3 Other Ways To Cool Down Your RV
When the RV air conditioner alone is not enough to keep the temperature comfortable, there are additional cooling methods that can be used. These methods can help to circulate the air better or provide additional cooling power.
Install a Ceiling Fan
A ceiling fan can be a great addition to an RV to help circulate the air and create a more comfortable environment. The fan can help to distribute the cool air from the air conditioner more evenly throughout the RV, and it can also help to create a breeze that can make the space feel cooler.
When installing an RV ceiling fan, it is important to make sure that it is securely mounted and that it is balanced properly to prevent any wobbling or shaking. The fan should also be set to run in a counterclockwise direction during the summer months to create a cooling effect.
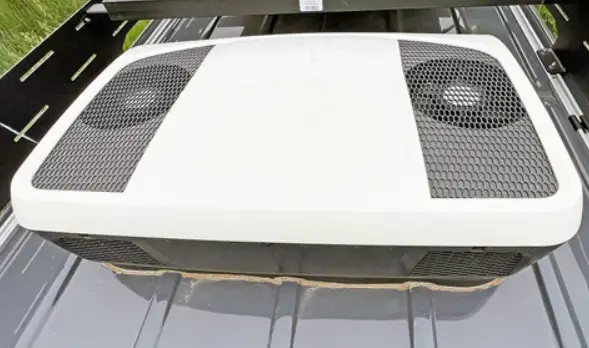
Use a Portable Air Conditioner
If the RV air conditioner is not powerful enough to cool the entire space, a portable air conditioner can be used to provide additional cooling power. Portable air conditioners are designed to be easy to move from one room to another, and they can be a great option for RVs with multiple sleeping areas or a large living space.
When using a portable air conditioner, it is important to make sure that it is properly vented to the outside to prevent hot air from building up in the RV. The unit should also be placed in a location where it can easily reach the area that needs to be cooled.
Invest in Ventilation Fans
Ventilation fans can be a great way to help circulate the air and remove hot air from the RV. These fans can be installed in the roof or walls of the RV and can be used to draw in cool air from outside or to exhaust hot air from the RV.
When choosing ventilation fans, it is important to consider the size of the RV and the amount of airflow that is needed. Larger RVs may require multiple fans to provide adequate ventilation, and it is important to make sure that the fans are properly installed and sealed to prevent any leaks.
Check out our other guides to RV repair while you’re here: