
When it comes to blowing out RV water lines, using the correct air pressure is crucial to avoid damaging your RV’s plumbing. The recommended air pressure to blow out RV water lines is typically 30 psi, with a maximum of 50 psi when using an air compressor.
Quick Facts:
- Using the correct air pressure is crucial when blowing out RV water lines to avoid damaging your RV’s plumbing.
- The recommended air pressure is typically 30 psi, with a maximum of 50 psi when using an air compressor.
- It’s important to use a pressure gauge and an air pressure regulator to ensure that you are using the correct air pressure.
- The appropriate air pressure may vary depending on the type of pipes in your RV.
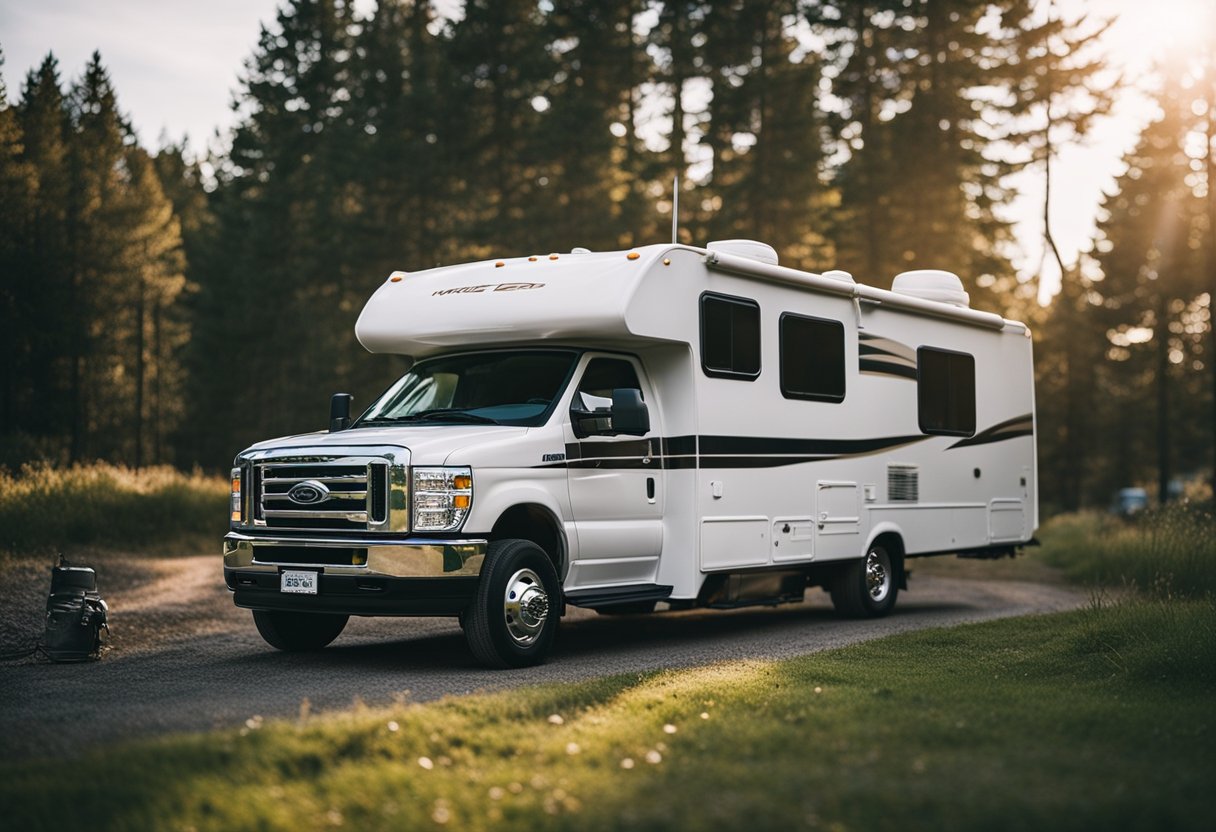
Understanding RV Water Lines
When it comes to RVing, one of the most critical systems is the plumbing system. Understanding how the RV water lines work is essential to ensure that you can maintain them properly and avoid any issues.
RV water lines are made of different materials, including PVC, PEX, and copper. These materials have different properties, which affect their durability and flexibility. PVC pipes are common in older RVs, while PEX pipes are more common in newer models due to their flexibility and resistance to freezing.
Copper pipes are also used in some RVs, but they are less common due to their weight and cost.
The water flow in an RV plumbing system works similarly to that of a regular house. The water supply enters the RV through a hose, which is connected to the city water inlet. The water then flows through the RV water lines to the various fixtures, including sinks, showers, and toilets.
One thing to note is that RV water lines are much smaller than those in a regular house, which means that the water pressure needs to be lower to avoid damaging the pipes. The recommended water pressure for RVs is around 30-50 PSI.
It’s also important to note that RV water lines need to be winterized if you plan to store your RV in a cold climate. This involves blowing out the water lines with compressed air to remove any remaining water that could freeze and damage the pipes.
The amount of air pressure needed to blow out RV water lines depends on the type of pipes you have and the age of your RV.
Tools Needed to Blow Out RV Water Lines
When it comes to blowing out RV water lines, you’ll need a few essential tools to get the job done right. Here are some of the tools you’ll need to make sure your RV’s water system is properly winterized:
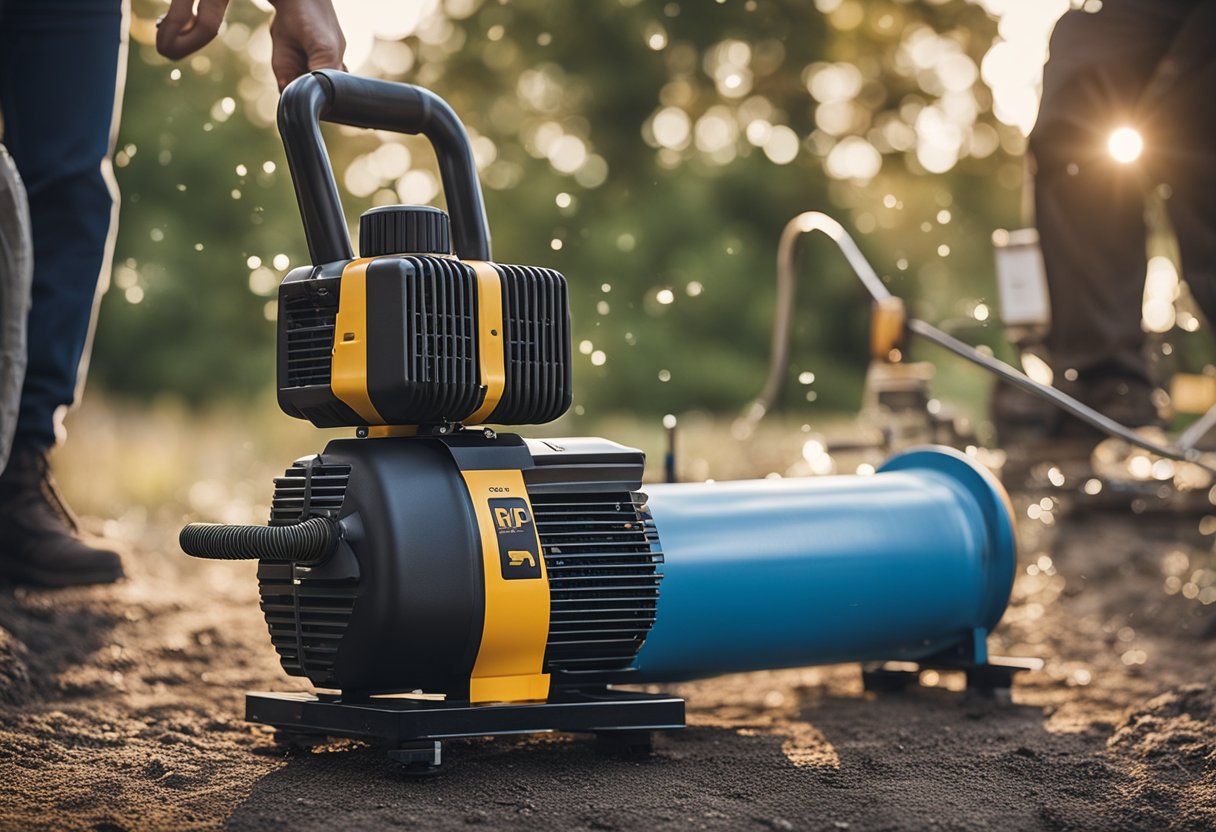
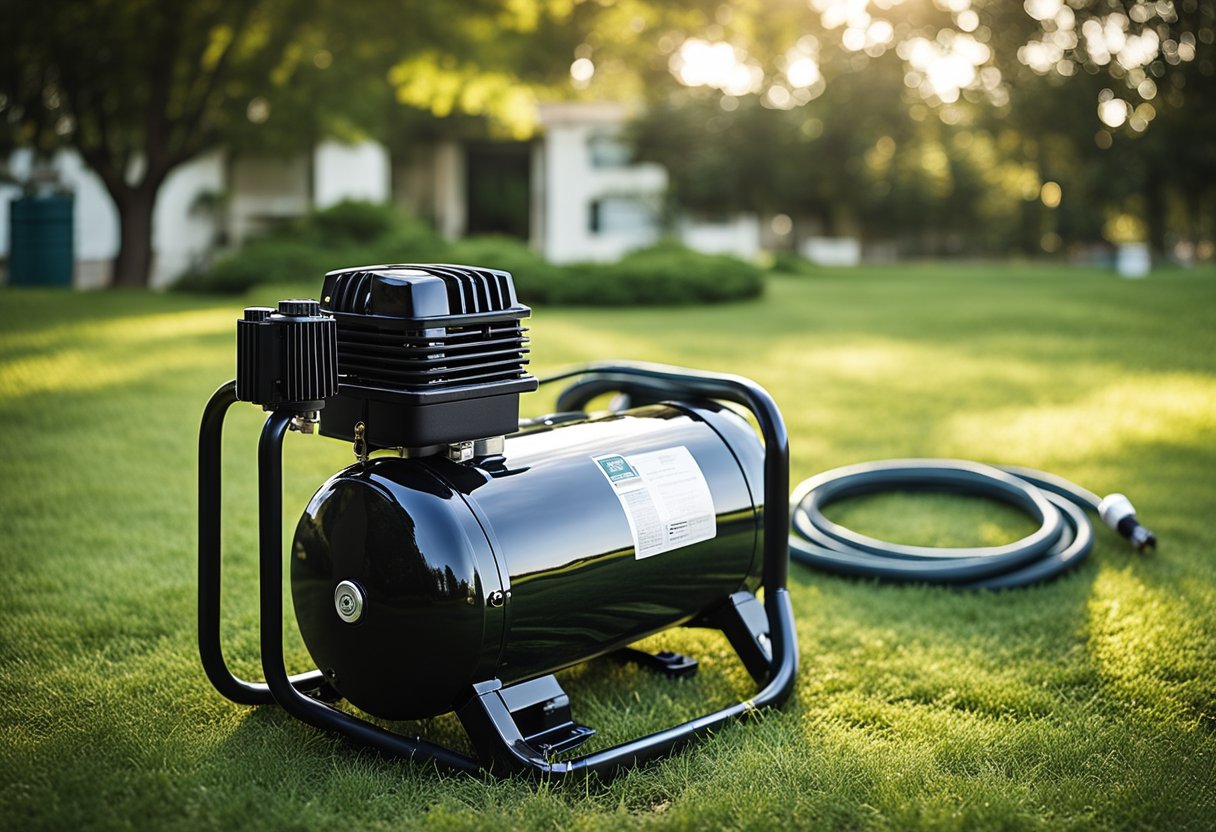
Air Compressor
An air compressor is the most important tool you’ll need to blow out your RV’s water lines. You can use a portable compressor or a larger stationary one, depending on your needs.
Make sure the compressor you choose has enough power to deliver the right amount of air pressure to your RV’s water system.
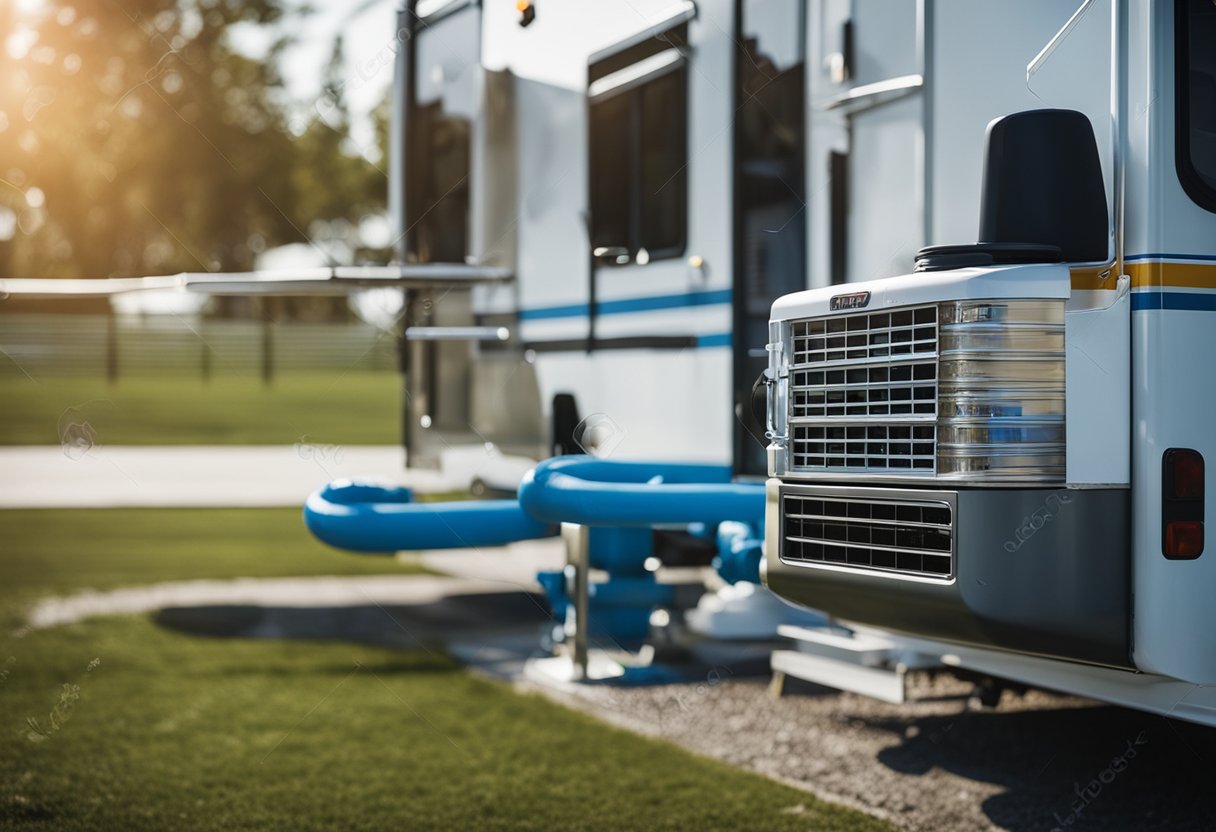
Hose
You’ll need a hose to connect your air compressor to your RV’s water system. Make sure the hose is long enough to reach your RV’s water inlet connection, and that it’s the right size to fit your air compressor’s outlet.
Blowout Plug
A blowout plug is a specialized tool that’s designed to fit into your RV’s water inlet connection. It allows you to deliver compressed air directly into your RV’s water system, so you can blow out any remaining water.
Air Hose
You’ll need an air hose to connect your blowout plug to your air compressor. Make sure the hose is long enough to reach your RV’s water inlet connection, and that it’s the right size to fit your blowout plug.
Air Pressure Regulator
An air pressure regulator is an important tool that helps you control the amount of air pressure that’s delivered to your RV’s water system. Make sure you set the regulator to the right pressure level for your RV’s plumbing system.
Gauge
A gauge is a useful tool that allows you to monitor the air pressure that’s being delivered to your RV’s water system. Make sure you choose a gauge that’s easy to read and accurate, so you can make sure you’re delivering the right amount of pressure.
The Importance of Winterizing Your RV
As an RV owner, you should know how to winterize your RV properly to avoid costly damages. Winterizing your RV is essential to protect it from the freezing temperatures that can cause severe damage to your RV’s plumbing system.
Freezing water can cause your pipes to burst, leading to costly repairs. By winterizing your RV, you can avoid this problem and ensure that your RV is ready to use again when spring arrives.
Winterizing your RV involves draining all the water from the RV’s plumbing system and adding antifreeze to prevent any remaining water from freezing. You can do this by blowing out the water lines with an air compressor or using antifreeze.
When winterizing your RV, it’s essential to follow the manufacturer’s recommendations to ensure that you do it correctly. You can also consult with a professional to help you winterize your RV if you’re not sure how to do it.
In addition to winterizing your RV, it’s also crucial to store it properly during the winter months. You should park your RV in a dry and secure location, preferably indoors, to protect it from the elements.
In conclusion, winterizing your RV is a crucial step to protect it from the freezing temperatures that can cause severe damage to your RV’s plumbing system. By following the manufacturer’s recommendations and storing your RV correctly, you can ensure that your RV is ready to use again when spring arrives.
Step-by-Step Process of Blowing Out RV Water Lines
Blowing out RV water lines is an important part of winterizing your RV. Here’s a simple step-by-step process to help you blow out your RV water lines:
- Drain all water from your RV’s water system. Open all faucets and drains, including the water pump, to ensure that all water is completely drained from the system.
- Connect your air compressor to the RV’s water inlet. Make sure that the air compressor is set to the appropriate PSI level. Typically, 30 PSI is a reliable setting, and the maximum should be 50 PSI when using an air compressor to blow out your RV water lines.
- Turn on the air compressor and open all faucets and drains. This will allow the compressed air to flow through the water lines and push out any remaining water.
- Repeat the process until no more water comes out of the faucets and drains. This ensures that all water has been removed from the system.
- Once all water has been blown out of the system, close all faucets and drains. You can then add antifreeze to the water system to prevent any remaining water from freezing and causing damage to the system.
It’s important to note that blowing out RV water lines is not a one-time process. You should blow out your RV water lines every time you plan on storing your RV for an extended period of time, especially during the winter months.
This will help prevent any damage to your RV’s water system and ensure that it’s ready to use when you’re ready to hit the road again.
Additional Tips for Maintaining RV Water Lines
Maintaining your RV water lines is essential to ensure that they function properly and last for a long time. Here are some additional tips to help you keep your RV water lines in top condition:
- Use Antifreeze: Antifreeze is an essential component of winterizing your RV water lines. It helps to protect your pipes from freezing and cracking during the winter months. Make sure to use RV antifreeze, which is safe for your plumbing system.
- Regular Maintenance: Regular maintenance is crucial to keep your RV water lines in good condition. Make sure to inspect your water lines regularly for leaks, cracks, or other damage. If you notice any issues, address them immediately to prevent further damage.
- Flush Your Water Pipes: Flushing RV water pipes regularly is essential to remove any sediment or debris that may accumulate in your plumbing system. You can use a garden hose to flush your water pipes and keep them clean.
- Protect Your Equipment: Protecting your equipment is essential to ensure that your RV water lines function properly. Make sure to use high-quality equipment, such as hoses and connectors, to prevent leaks or other problems.
- Monitor Your Water Pressure: Monitoring your water pressure is essential to prevent damage to your RV water lines. Make sure that your water pressure is within the recommended range for your plumbing system.
By following these additional tips, you can ensure that your RV water lines are well-maintained and function properly.
Post-Winterizing Procedures
Now that I have successfully blown out my RV water lines with the appropriate air pressure, it’s time to move on to the post-winterizing procedures. These are the steps I take to ensure that my RV’s plumbing system is ready to go for the spring season.
Firstly, I remove any traps that I may have installed during the winterization process. I make sure to clean and dry them before reinstalling them. This is important to prevent any buildup of sediment or debris that may have accumulated during the winter months.
Next, I turn on all of the faucets, showers, and toilets in my RV to flush out any remaining water. I leave them on for a few minutes to ensure that all of the water has been flushed out. I also make sure to flush out the outside shower if my RV has one.
After flushing out the water lines, I inspect all of the fixtures to ensure that they are in good working condition. I check for any leaks or damage that may have occurred during the winter months.
Finally, I disconnect the sewer hose and clean it thoroughly before storing it away. This is important to prevent any buildup of sediment or debris that may have accumulated during the winter months.
By following these post-winterizing procedures, I can rest easy knowing that my RV’s plumbing system is ready for the spring season.