

DIY RV slide out storage trays for your rig can be a great way to save money and easily access everything you’ve put in your RV storage compartment quickly and easily. They’ll save you plenty of money compared to the sliding storage trays offered at the dealer or by other manufacturers, and the best part is that you can customize them to your exact needs or specifications.
There are many ways to make your own RV slide out storage trays which we’ll cover in today’s guide.
Why DIY RV Slide Out Storage Trays Are Worth It
There are plenty of benefits to having RV storage slide out trays, which we’ll cover here first.
A RV Sliding Storage Tray Provides Easier Access To Your Stuff
Adding RV pass through pull out drawers allows you to bring everything you stored into the open, without the need to reach far into the small storage space or bring things out one at a time to reach something that’s at the back.
Just open the drawer and it’s all there – grab what you need, and push the RV sliding tray back in and you’re done!
Making Your Own RV Cargo Slide Is Affordable
While some aftermarket pre-built RV cargo slide units can cost up to $1000, making your own RV cargo slides will be a fraction of that cost.
The RV life isn’t cheap, so it’s important to save money where you can, and building your own RV sliding storage tray solution is a great way to do that.
Your DIY RV Storage Slide Out Trays Will Fit Your Rig Perfectly
Although there are a few premade RV slide out tray makers that offer a custom fit, many offer preconfigured sizes that may not make the best use of your space or fit your exact gear set up.
By designing and building your own RV storage drawers you can maximize the footprint to get as much storage as possible, plus you also get to customize them with compartments or extra features that don’t come on premade options.
Making a diy RV generator slide tray is a great example of this.
DIY RV Slide Out Storage Trays – 6 Plans
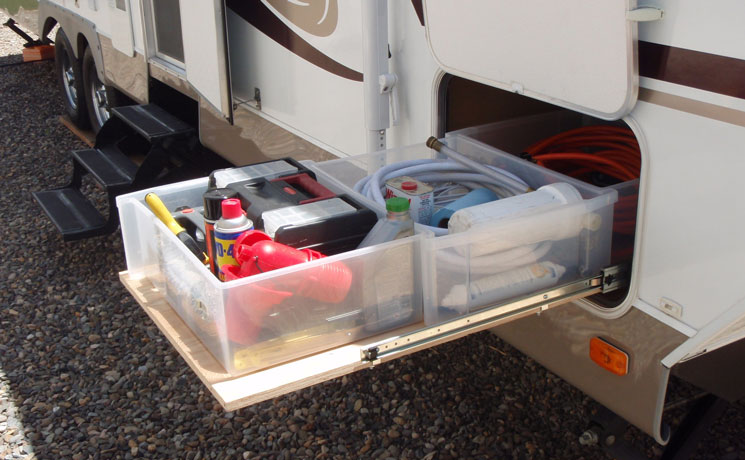
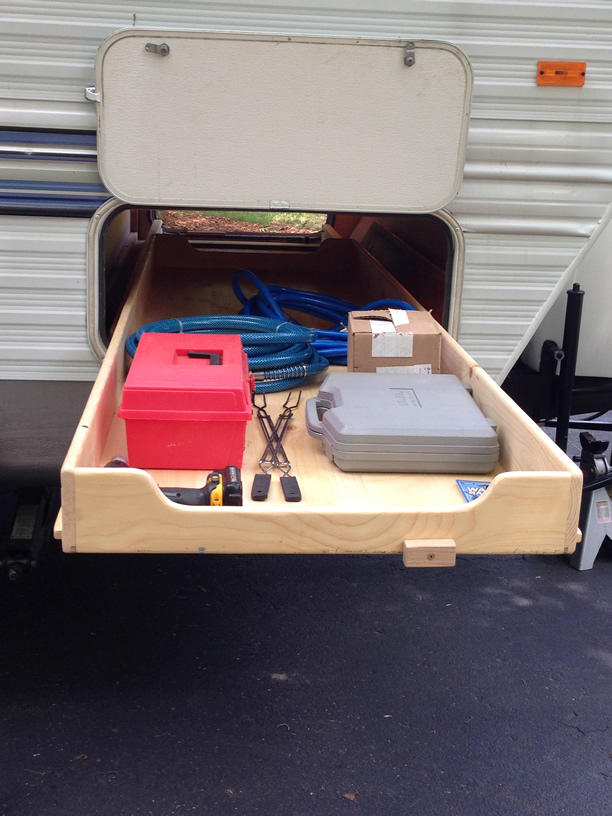
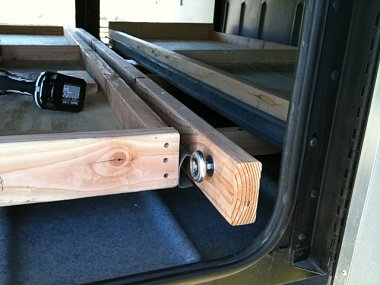
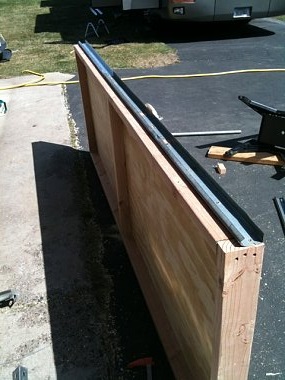
Easy DIY RV Storage Slide Out Trays
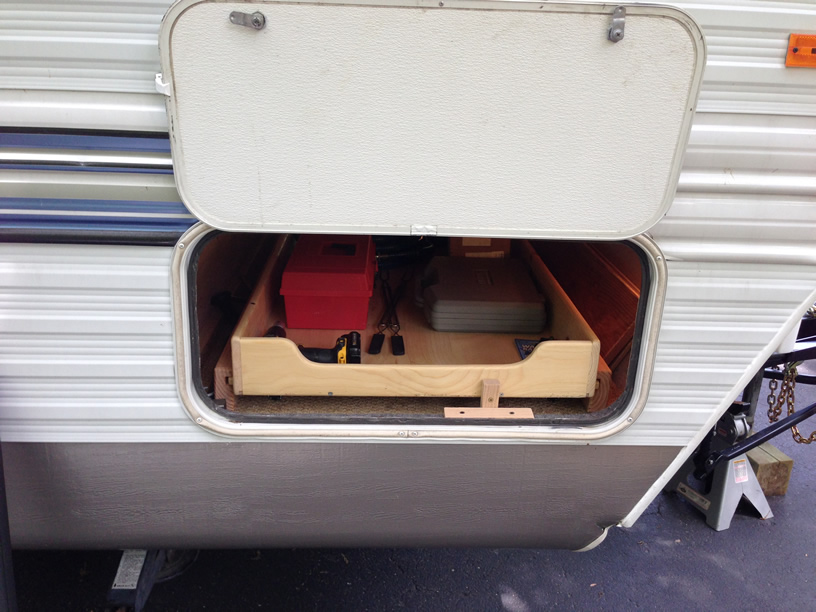
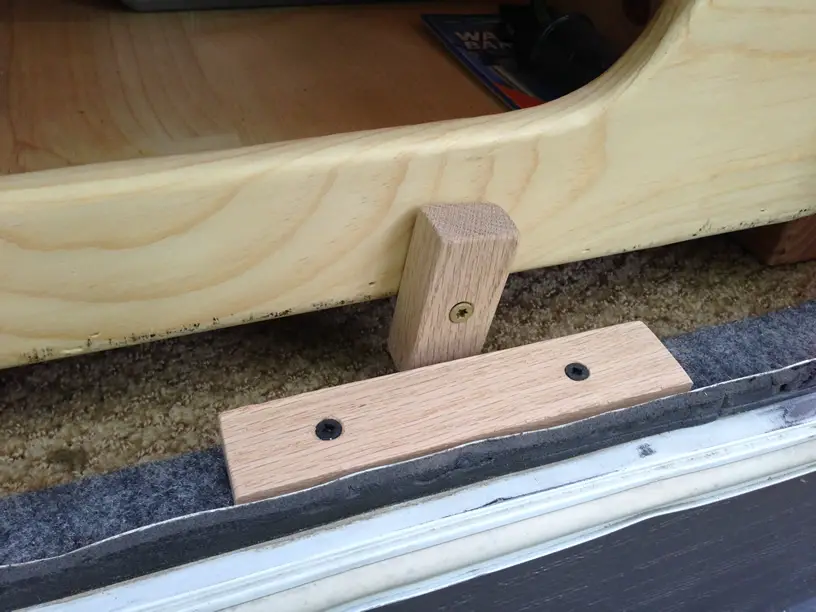
If you’re handy with a saw and power tools, you can make these great-looking RV sliding trays.
You’ll need 36” drawer slides (ideally rated at 500lbs or higher depending on the weight of your gear), a sheet of ⅝” plywood, and some 1” pine lumber.
The total cost of this project is around $400, which is less than what a single premade RV sliding storage tray would cost from a retailer.
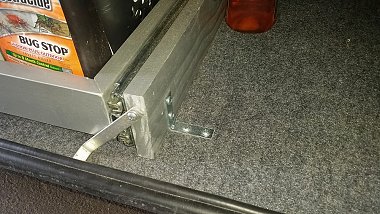
These trays are 32” wide by 44” deep and are fastened to the RV storage floor with angle brackets.
Finish them off with ¾” sheet metal screws on the trays into the flooring so they are held into the plywood in your RV’s basement storage.
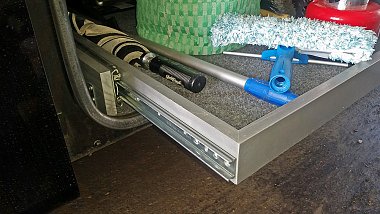
DIY Pass Through RV Sliding Tray System
This solution is a bit cheaper because and easier to attempt because you’re swapping out the drawer slides in favor of caster wheels mounted upside down.
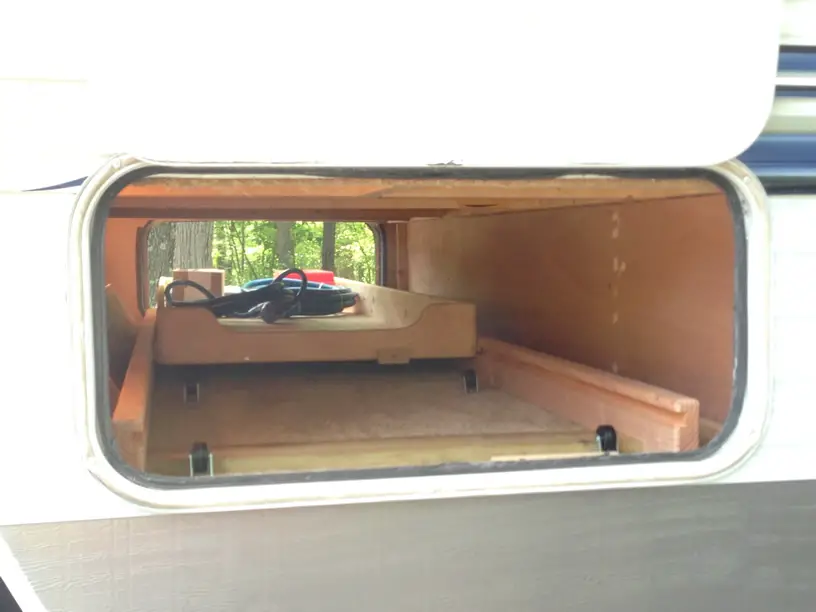
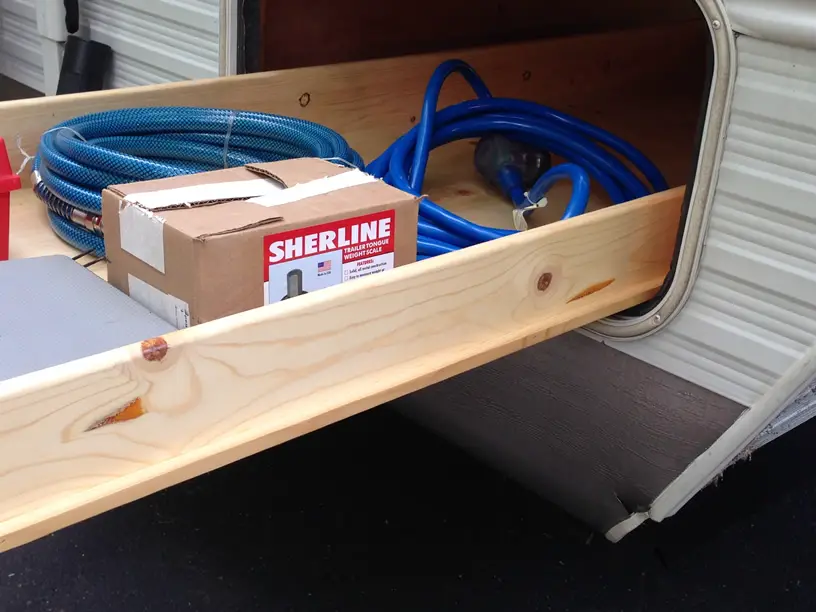
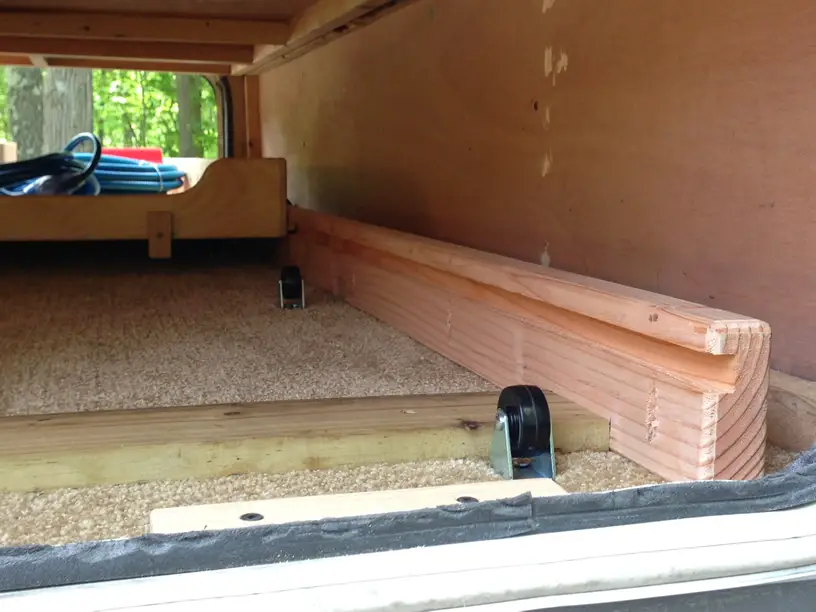
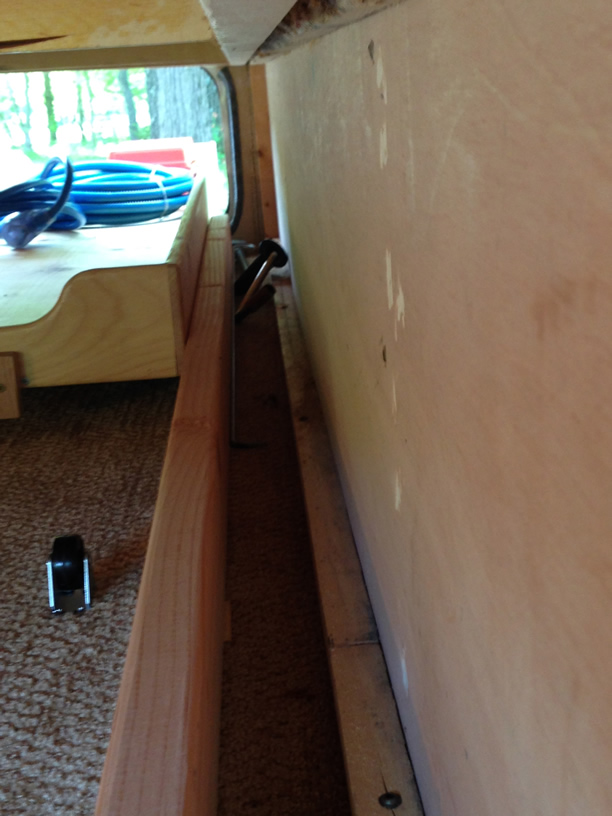
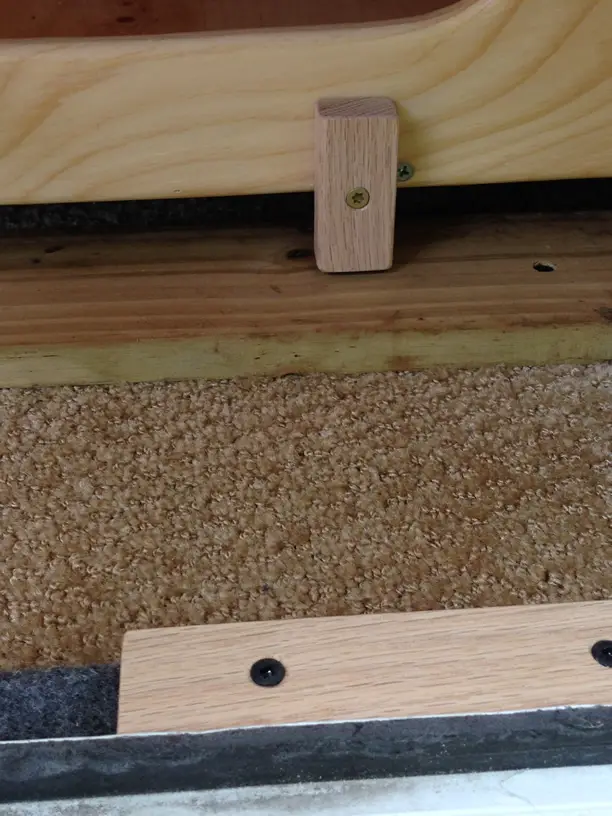
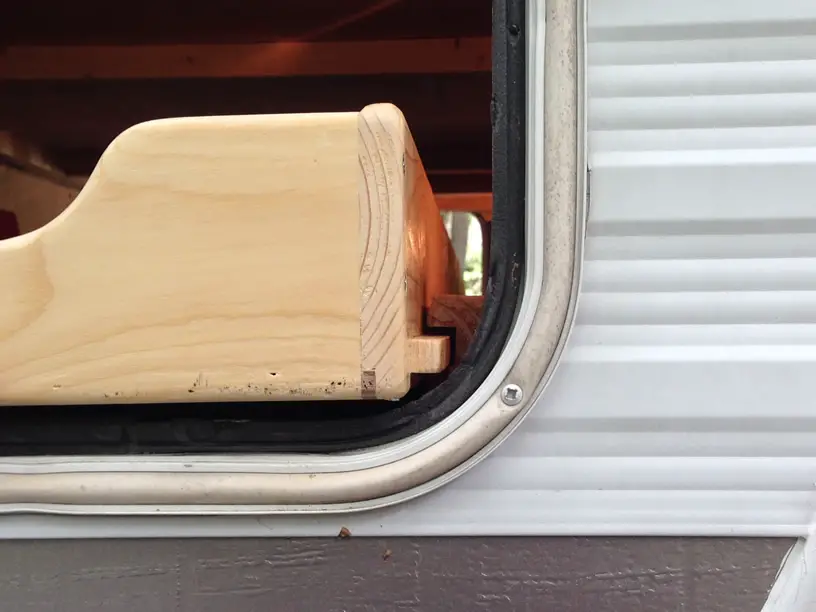
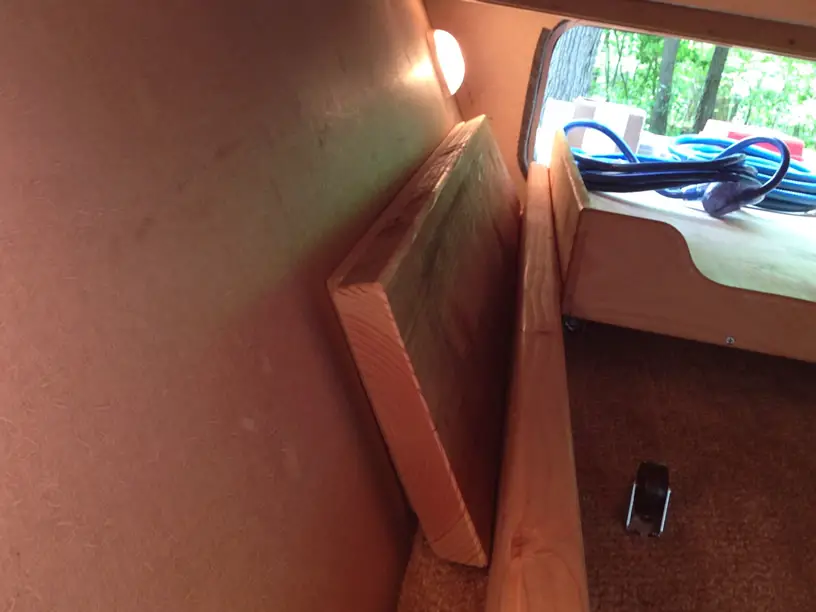
You’ll still be building the RV cargo slide frames and drawers out of plywood, then mounting the caster brackets upside down and screwing everything into your RV’s plywood to keep it secure.
The drawers “slide” on top of the caster wheels to allow you to easily access everything.
All in all, this is a simple option for RV pass through pull out drawers that almost anyone can attempt.
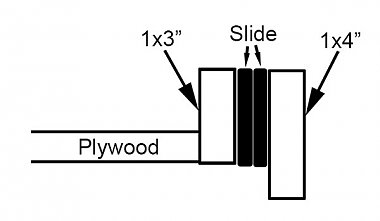
Try Your Hand At These DIY RV Basement Storage Slides
One clever camper used garage door rollers on his RV basement storage slides.
This is a bit more heavy duty than we’d normally opt for, but would work well if you’ve got some heavy gear to store or if you happen to have some extra material that fits this application.
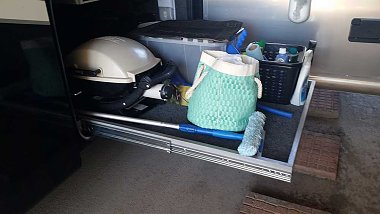
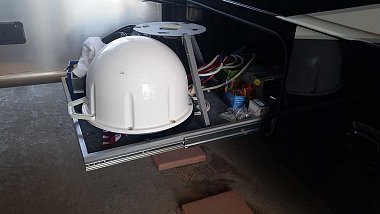
Build A RV Generator Slide Tray
This DIY RV generator slide tray allows you to easily access and service your generator, along with whatever other things you need to get to in the compartment.
Note the user also made a separate RV sliding drawer for their batteries, which is a nice touch.
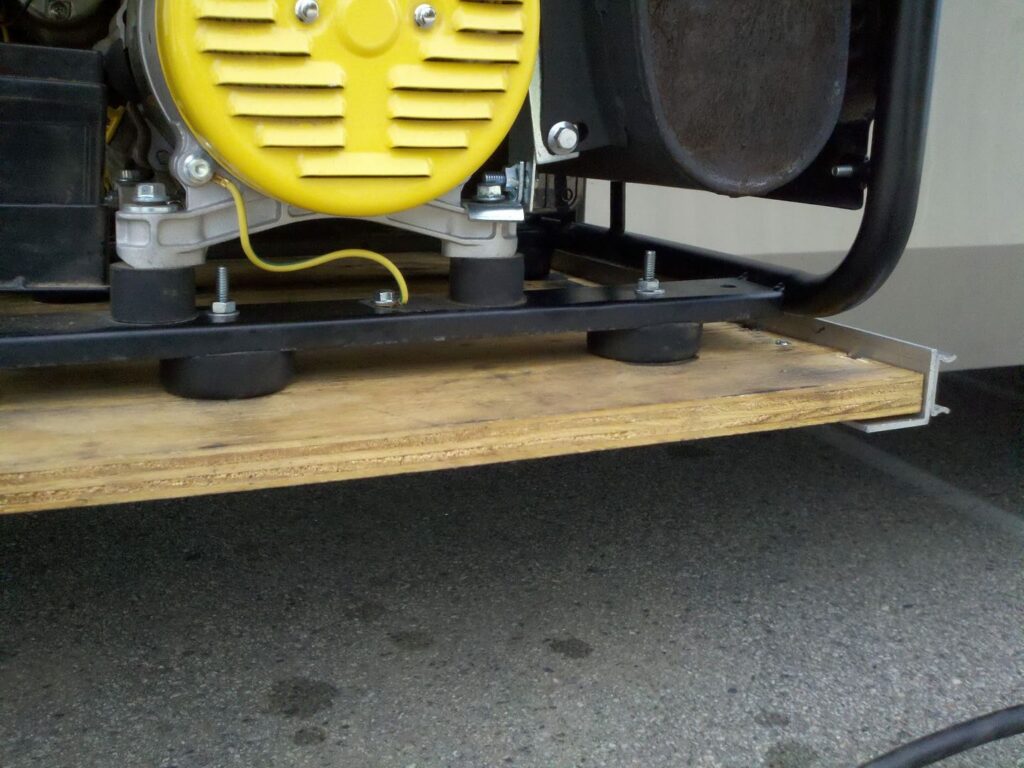

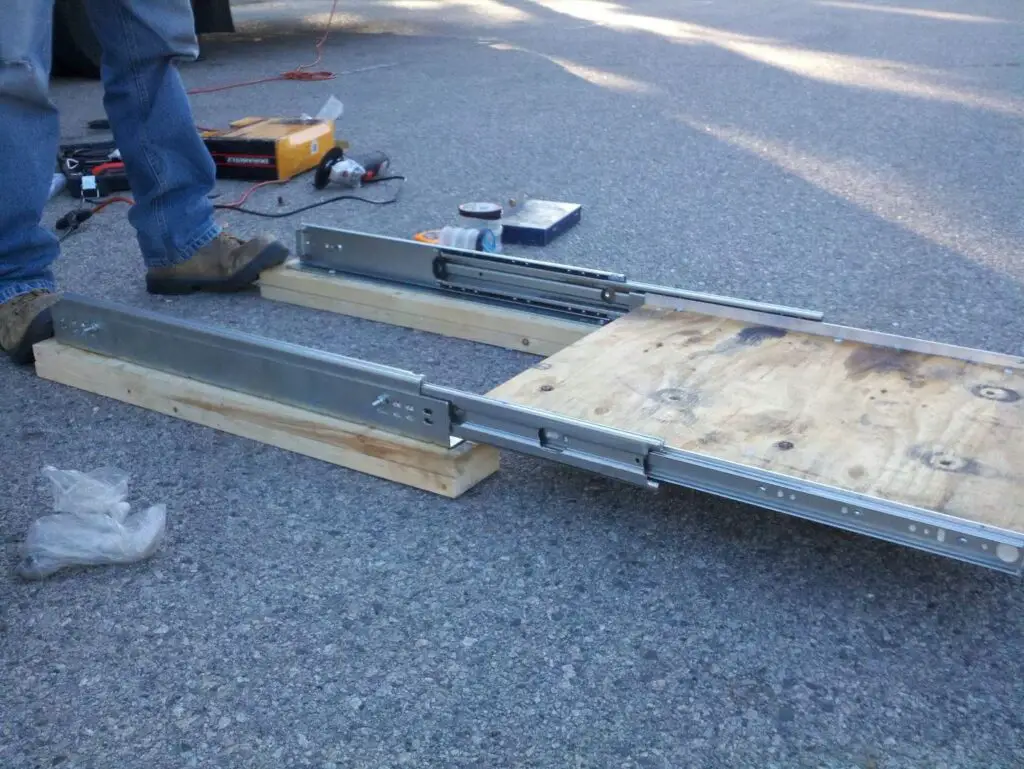
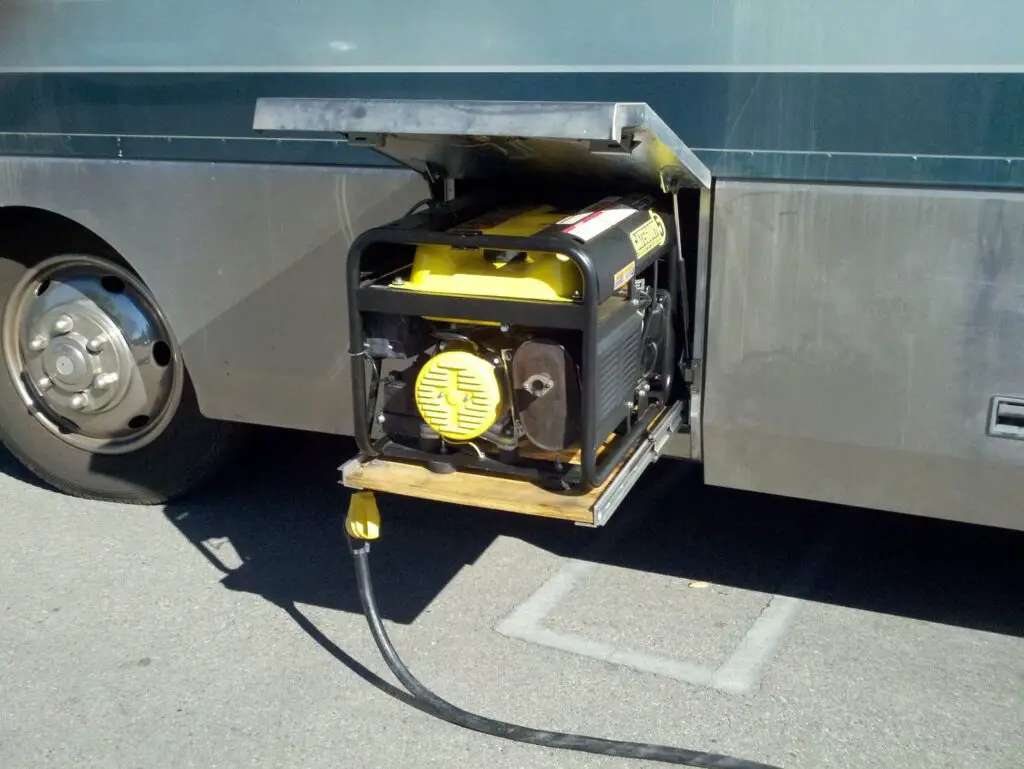
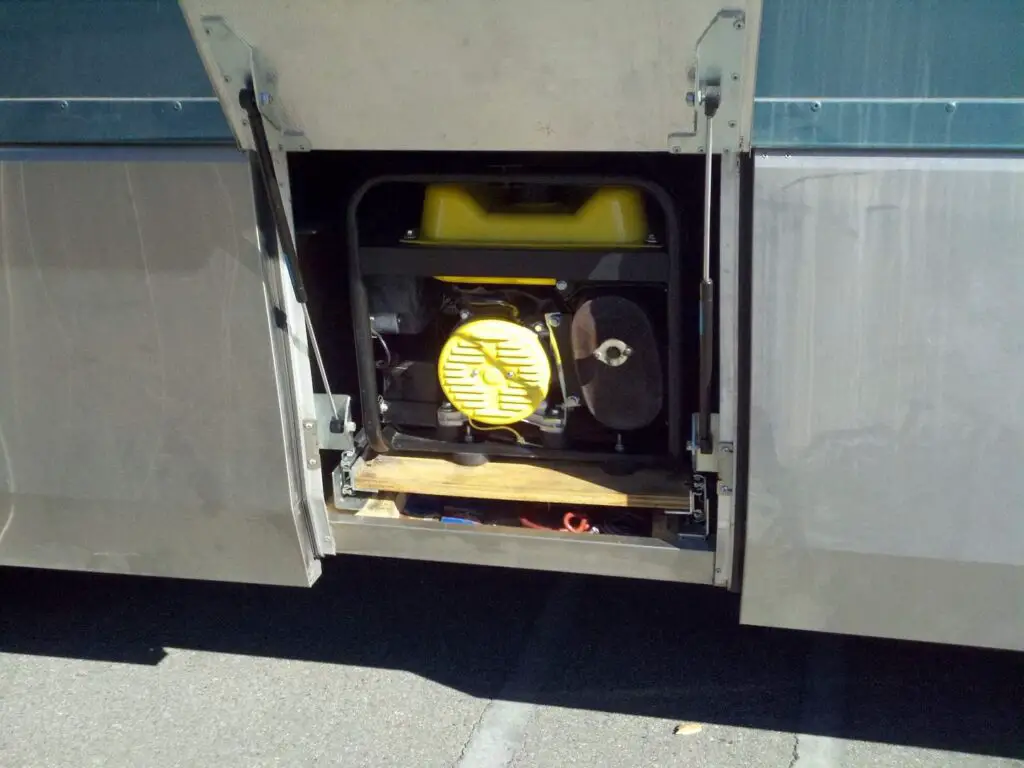
The unit was made with plywood and heavy-duty drawer slides and mounted into the RV basement storage floor to support the generator when the RV drawer is slid out.
Try Making An RV Pull Out Storage Tray With Casters On The Bottom
This clever DIY RV basement storage slide uses pegboard or Luan door material, plywood side boards, mounted caster wheels on the bottom to help it roll, and even has a rope handle to help it get over the RV storage cubby lip and a fold-out leg to keep it level on the ground.
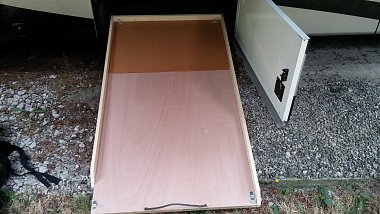
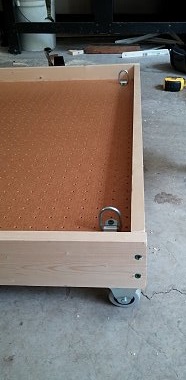
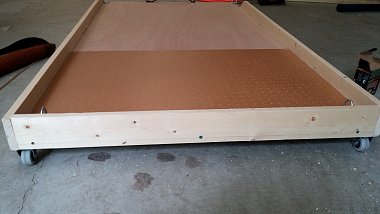
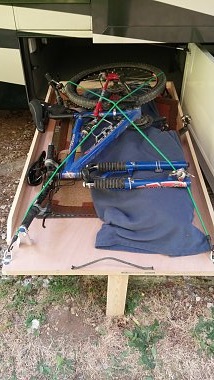
There are 4 tie-down anchors so you can secure your gear (a bike in this case) with bungee cords, which is genius.
Make RV Storage Drawers Without Rollers
Some RVers have gotten pretty clever with some super cheap and low-tech solutions.
We saw one camper online who used a runner rug (you can also use a strip of carpet remnant) trimmed to the length of their RV pass through storage space and used plastic storage bins.
Using this method, you can simply pull the rug out to access your bins, and pull everything back through from the other side.
It’s cheap, easy, gets the job done, and requires no construction.
Other campers have attached furniture moving pads on the bottom of their own DIY slide out RV storage drawers or on store-bought flat bottom storage tubs so they can easily slide the tubs in and out of the RV storage space.
How To Make Your Own DIY RV Slide Out Storage Trays
Making your own RV cargo slide or RV sliding tray is easy and requires just a little bit of measuring and use of power tools.
Here’s what you’ll need to get started:
- A Sheet Of Plywood (⅜” to ½” should be fine)
- Measuring Tape
- Pencil
- Wood Glue
- Screws
- Circular Saw
- Orbital Sander Or Sandpaper (optional)
- Hardware (Drawer Slides, Casting Wheels, or Whatever Else You Decide To Use)
- Finishing Materials (If Desired): Paint, wood stain, drawer lining material, etc.
Once you’ve got your supplies gathered, it’s time to get to building your RV storage drawers:
- Step 1: Measure your RV storage compartment length and width for the base and sides of your RV basement storage slides.
- Step 2: If using drawer slides, account for the width of both the drawer slides and the frame for the drawer when cutting your plywood. Same goes for height considerations if using casters on the bottom, as they’ll raise the height of your RV sliding storage tray.
- Step 3: Measure and mark your cut lines on your sheet of plywood.
- Step 4: Cut your plywood with a circular saw. Always use eye and ear protection.
- Step 5: Sand all pieces if desired (this is recommended!).
- Step 6: Use wood glue and screws to attach the sides of your RV pull out storage tray to the base.
- Step 7 (Optional): Cut and attach divider pieces in the RV slide out tray if you prefer.
- Step 8: If using drawer slides, make the frame, using your previous measurements and adjusting for width of both the additional plywood and drawer slide mechanisms using Steps 3-6.
- Step 9: If using drawer slides, attach them to both the RV sliding tray drawer and frame now.
- Step 10: If using paint or stain, apply them to the RV storage drawer and frame at this time
- Step 11 (if needed): Attach the RV slide out storage tray frame to the floor of your RV’s storage compartment using screws. We recommend using shorter screws that will only go into the plywood subfloor in your RV’s storage compartment rather than long screws that could damage something beneath that plywood layer
- Step 12: Attach any handle(s) or drawer lining to your DIY cargo RV slide and mount the drawer into the frame.
Here’s a good video showing the construction and installation process of wood-only DIY RV slide out storage trays:
Wrapping Up Our Guide To DIY RV Storage Slide Out Trays
We hope this guide helped you to get some ideas on how to make your own RV pull out storage tray system and helped your project go smoother.
What option did you decide to go with, and how did your RV cargo slide turn out?
Let us and your fellow campers know in the comments below.
If you’re into DIY RV projects, be sure to take a look at our guides to the best RV outdoor kitchen mods and how to install an RV bike rack over propane tanks.
While you’re here, check out our other helpful RV repair guides as well:
- What to do if your RV water pump keeps running
- Everything there is to know about your RV low point drain valve
- How to perform RV toilet foot pedal repair
- Tackle problems filling fresh water tank on RV
- Our guide to RV roof reseal cost
- What to do if your RV heater is blowing cold air
- How to fix an RV microwave not working
- Our guide to motorhome fuel pump replacement
- How to replace RV window glazing bead
- How to fix an RV toilet not holding water
- How to fix a sagging RV slide out
- Preparing for an RV one night freeze